

Resist Embossed Tree
Sharing Christmas last one!

Sharing Christmas Part 3

This adorable snowman card is from Julie Hoffa - love it! Julie used some really cool clear blue bubbles., The photo shows as shiny spots, but they are rounded on one side and flat on the bottom little glass looking bubbles.

Karen Moffett made this beautiful tri-fold card. Snow Swirled Stamp set still one of all time favs!

Thank you all for the beautiful cards filled with loving wishes.
Snow Storm

Best Friends

Sharing Christmas Part 2


Sharing Christmas


By Judy Hacker. So simple yet so awesome. Layered back ground paper, silver card stock and great velvet ribbon.
Happy Stamping! Debbie
Valentine Treat


Happy Stamping - Debbie
TWEET TWEET


Peace Banner


Eat Taco's


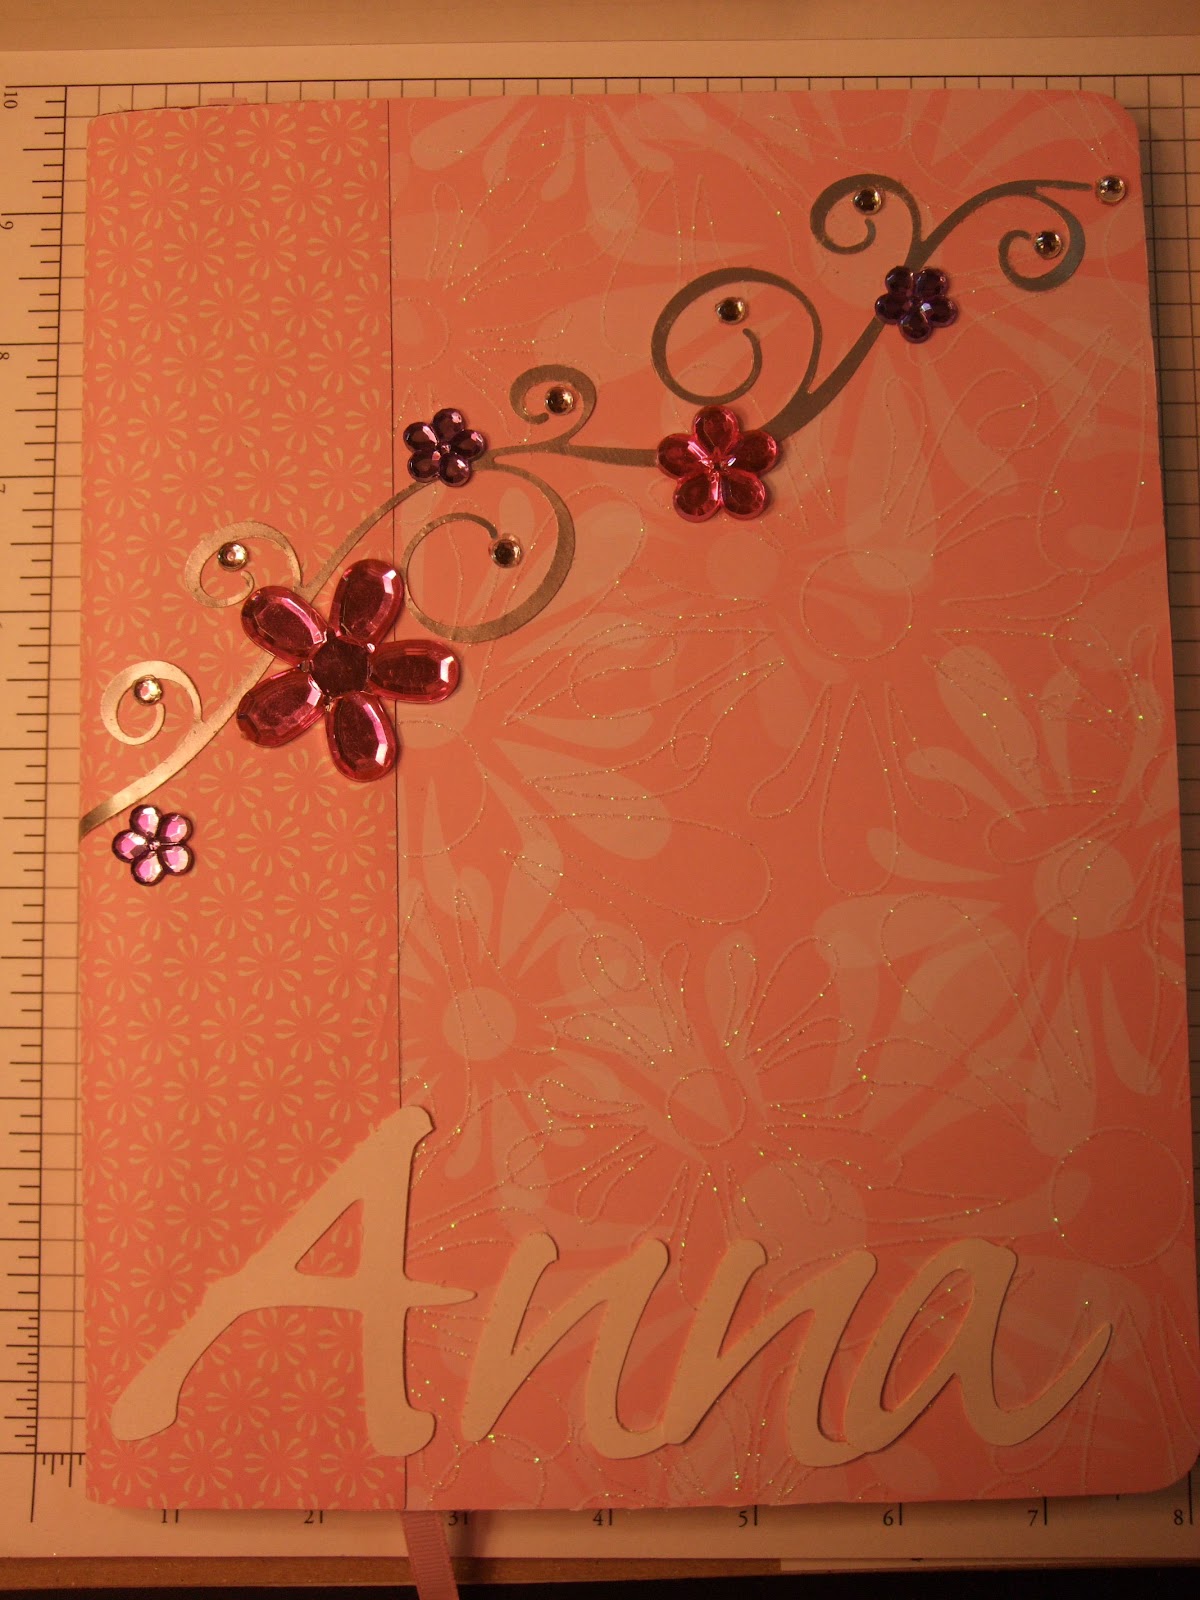
Covered Journals


Subscribe to:
Posts (Atom)