

WELCOME BABY CAKE
WELCOME LYDIA

PUMPKIN PIE ANYONE?

THE OL' NAPKIN TRICK LAST ONE!

OK OK.... here is the trick! What you all have been waiting for. Super duper easy! And you are going to LOVE LOVE LOVE it. You do not have to be an artist to make these beautiful cards.The napkin dose the work for you.
The PPA is the perfect glue for this project as it is non sticky, so it will not tear your beautiful napkins. You will need to search on line for the where abouts to locate it. Perfect Paper Adhesive - PPA. Remember all products are from Stampin Up! except for the glue and napkin.
First using water color paper. Optional step: Paint the card stock background in a color or a couple of colors that will coordinate with the napkin. Blend edges of colors together. Let dry a tad.
Second: To prepare the napkin, take two small pieces of masking tape and stick it a couple of times to your clothes so you pick up lint on the tape. This will make the tape less sticky to help avoid tearing the napkin. The napkin has 3 layers. You want to use the tape to stick one piece to the printed side of the napkin and the other piece to the back side of the napkin, like a sandwich and pull the layers apart. Do this 2 times to remove the back two layers of the napkin.
Third: Ok, now that you have a one layer printed napkin. Pick what part of the design you want for your card. Take a wet paint brush and get the napkin around the design you want and gently pull the design away from the rest of the napkin. This will give you a shredded edge. Now dry your brush on an old towel to remove as much water as possible. You want a pretty dry brush when using the glue.
Forth: Then take the PPA and thinly cover the card stock over the paint with the glue where you want the napkin design to lay. Lay the napkin over the glued area, and add another thin layer of glue over the napkin. Any hangovers (take an pill, ha!) .... just glue them to the underside of the card stock with the glue that is left on the paint brush. This is not to be a neat and perfect job - just slap on the glue and napkin on the card stock and call it a beautiful day!
Fifth: Now you can add a bit of glitter while the glue is still wet. I have added glitter to all my samples posted, but the one you can see the best the humongous glitter that is used in the card above. I think I got that out of one of the kids crafting kit years ago. You can stamp with inks and paints for layers, add ribbons, trims, buttons and bows. I left this card a little on the plane side to use as a "man card". You know the more challenging kind of cards to make.
Hope you can try out this fun trick and enjoy making some beautiful cards like me and my great friends did. As always if you have any questions, leave a comment or email me.
HAPPY EASTER


This is everyone's favorite card -I have to say I am pretty proud of it!
THE OL' NAPKIN TRICK!


TRASH TO TREASURE CARD IDEA
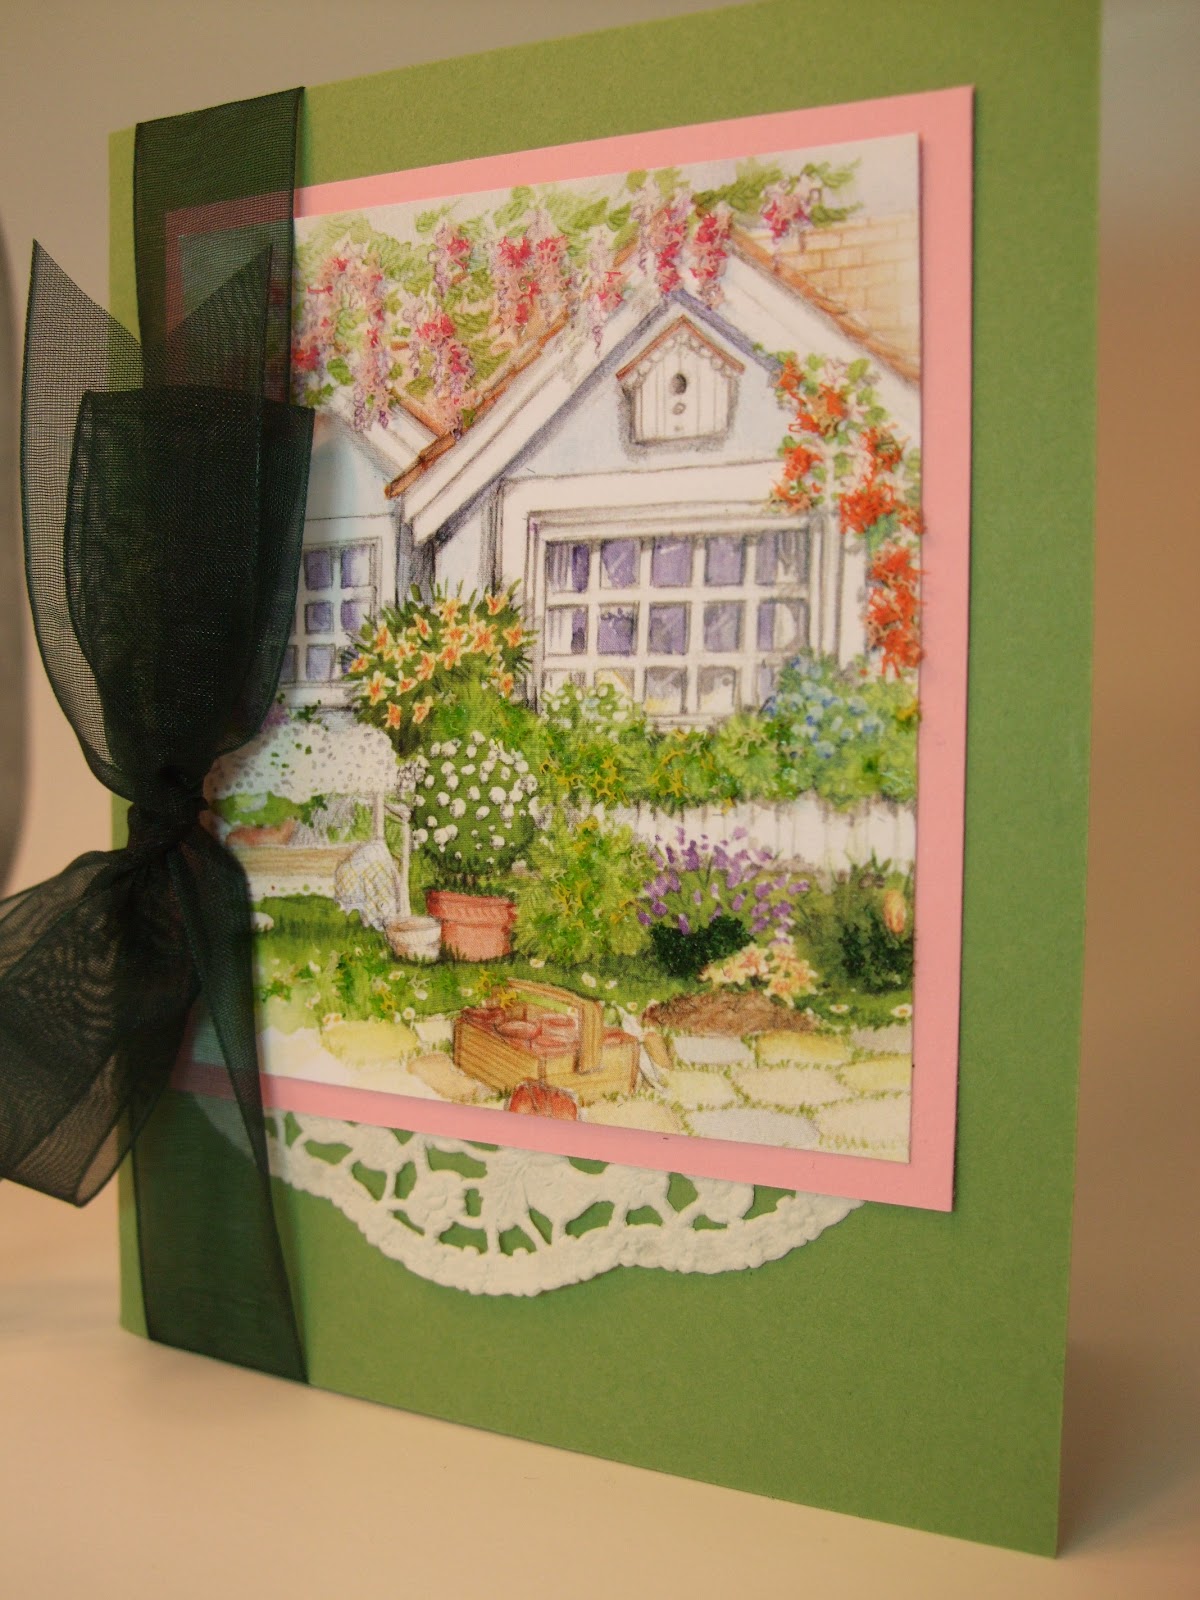


MARCH CARD SWAPS ONE


Card swap time. Enjoy the next few posts of these great cards done by some really special stamping friends.
1st one done by Judy H. 1nd one done by Pam W.
Smoking Boomer

HAPPY 60TH JULIE

Subscribe to:
Posts (Atom)