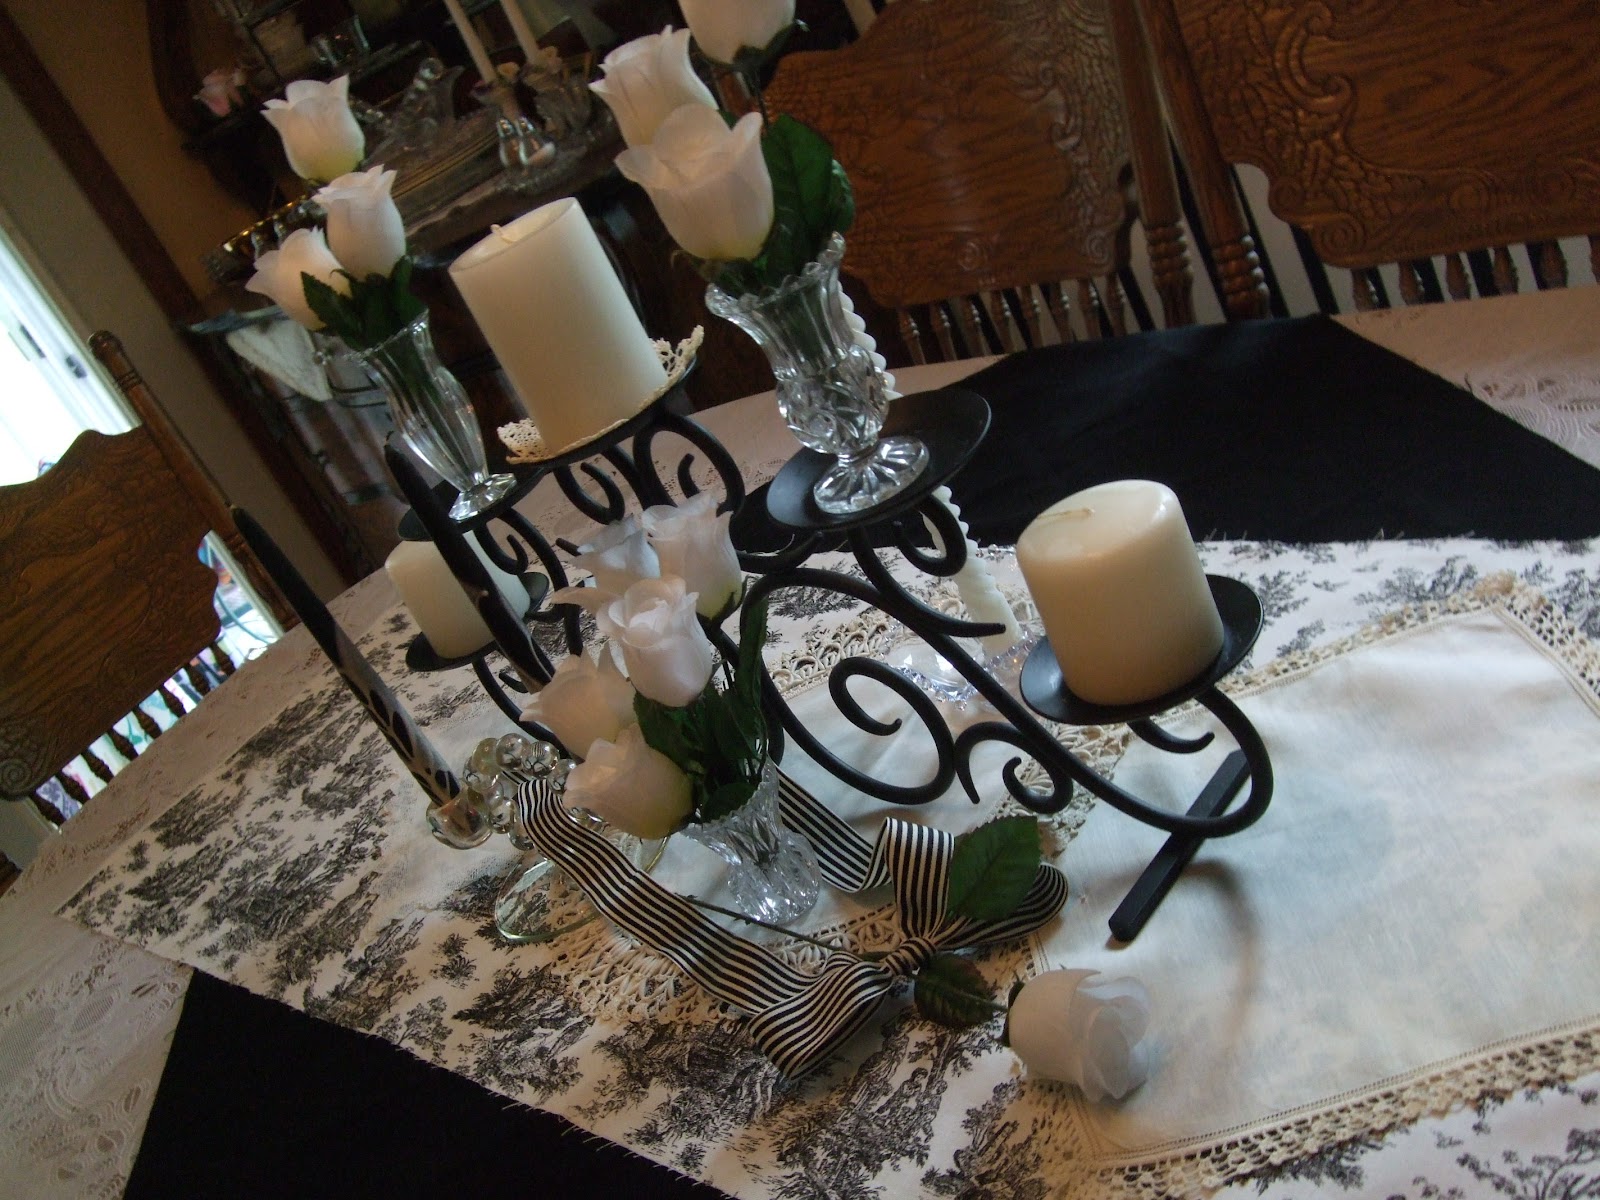
Black & White

So here is my design from the table inspiration. I used two new stamp sets Creative Elements # 122645 pg 137 and Established Elegance #122530 pg 130. Vanilla and black card stock, black classic ink. Black stripped ribbon. Finial Press textured impressions embossing folder. Love it!.

Everyday Table Setting

To match the dining room decor now that we do not have any holidays coming up soon. I went through the house and dug up stuff that would match. Even visited the stamping room for the ribbon!

White plastic lace table cloth from mom layered with black velvet that was from Emily's old room, layered with left over fabric from the dining room curtains layered with some of my Aunt Suzie's doilies. The black rod iron candle holder came from a trash heap in a rental house. Topped with a collection of who knows where I got those white candles from. The white roses were from my mom on Valentine's day a few years back. The little glass vases are from a collection I have from years gone by, and the black striped ribbon from Stampin' Up! Your turn, use this inspiration to design something fun and free for yourself!

Folded Pocket

Well I said I would share this - it is just a little later then I had planned. This is the pocket (of a different design) that was on our 4th of July table. You will need any size and any color of a square card stock. I used 8 x 8". Stamp one or two sides of the paper - your choice. I only did one side to make quick work of the project. Here is my one side stamped.
Fold one corner to corner with the stamp side on the inside of the fold and crease well.
Fold the top layer corner down to the straight folded edge.
Fold the right side corner under the flap that you just folded. Crease well and glue down.
So the same for the left side. Crease well.
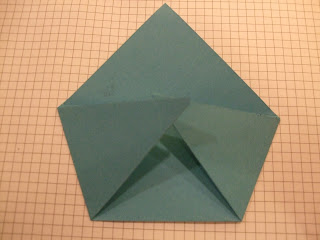
Fold the top corner layer down over the glued points. Glue in place. Decorate as desired. I just added a simple little ditty. But you can be a grand as grand gets with the decorating. Have fun with it. I will post a few more ideas using this idea soon.  Enjoy!


Wedding Cake

I know the leaves look black, but they are really dark green. The cake chocolate with raspberry filling and butter cream frosting. Will feed about 81 guests.

Dresses for Haiti

Emily and I with the help of a few Goodwill donations of  pillow cases (thanks Nickie) We made 9 little dresses to send to haiti.
I was able to get two 6-9 mo sizes out of one pillow cases. So stinkin' cute!
I was running out of bias tape, so I just put the tape on the arm holes and used ribbon on top of the bias and cut it long enough for the ties. The green and blue are 12 mo size.
These three Emily made. 18 mo size. Nickie donated these pillow cases.... they were like new. - thanks :)
These are the last of the nine and will fit size 2T. I thought the pillow cases were boy pillow cases and was almost didn't buy them. But after finding some trims at home that matched, they made up into great little girl dresses.
Here are the directions:
1 clean and pressed pillow case.
2 yards wide bias tape.
12"-14" of 1/2" wide elastic

Cut measuring from the cuff of the pillow case up to obtain size needed.
6-9 mo: 14", 12 mo: 15.5", 18 mo: 17.5", 2T:19.5", 3T: 21", 4T 22": 5/6: 24", 7/8" 26"

The opening end of the pillowcase will be the hem of the dress, add 1" for the casing at the top. For the arm holes cut a "J" edge, along the side seams that is about 3" deep and about 3" wide. Iron down the casing at the neck 1/4" and then 3/4" fold. Sew the casing edge as close as possible. Cut the elastic into 2 pieces 6"-7" long, one for front, one for back of dress. Attach a safety pen to either end of the elastic and feed into casing. Pen ends and sew to secure.  Cut the bias tape into 2 lengths of 1 yard each. Pin the center of the bias tape over the raw arm hold center edge and them up each side. Sew in place and sew the length of bias to close the ends. Turn in the ends and sew. Add ribbons, bows, lace, rick rack as you wish. I just used up some left over trims I had on hand.

Quick and easy project for a very good cause. If you would like to make some or donate supplies to make them, contact me email and I can let you know where to mail your donations to. 
Enjoy!

Happy 4th of July

The table setting is super easy and only cost $1.79 for the napkins. I used a white lace table cloth, a scrap piece of red flannel for a center drape. I dug out some vintage hankies and doilly's that were my nana's. I used some antique candlewick plates and my good white dishes. The candles were collected along the way sometime ago, and the little glass votives my sweet Aunt Birdie gave me as a hostess gift last year. It is a nice reminder of her as she is celebrating the 4th in heaven this year. The sparkle wreath I used at Christmas, and it reminds me of the fire works so it work for the 4th as well.
So shop your home for some red white and blue finds and set a table without busting the bank. Don't have a white table cloth... use a sheet - use some scrapbooking paper and use it in place of the hankies or doillies. Tie scraps of ribbon around clear glass jars or vases and use them to serve from or put candles in. Use and reuse and get double duty out of the every day things. Saves you money for more Stampin Up toys!
While sitting watching America's got talent last night I hand cut the banner, letters, numbers and then punched out the stars all from left over scrap paper. Strung it up from two little clear push pins at the top of the window frame.
Here is a close up. The banner pieces stayed in place because the string I used was pretty course, so it held the paper in place nicely.
Now for the table favors. When you are invited to a party at our home you leave with a little prize - I just love sending home treats to the sweets! I dipped pretzels in caramel and chocolate. Using the Wilton candy melts in dark chocolate, white and red, then adding red, white, and blue sprinkles. Will bag these up. I will share the how to pocket holder for these tomorrow.

Happy 4th of July and remember our soldiers in prayer.


Stay-castion

A day at the zoo and gardens with the family. We took a few days off and enjoyed time together. I would highly recommend this to all!

May Swap Cards

This set of cards came from a swap from some very dear and creative women. First one by Judy Hacker.
The butterfly is from a pick that you would use for cakes or food decorations, or maybe a potted plant. Anita Taylor pick these up 8 for a buck, and took the picks off and added a glue dot and a bit of bling and made it into a great birthday card. I had to have some too - so when she went back she got me a few packages as well - but they were on sale for 50 cents a package. Woo Hoo!
Just Because card by Gloria Ross - what talent this little lady has!
Pam Wright uses up a little tid-bit collection of do-dads she had on hand to create some fun summer cards.
Debbie Bond goes as far to add flocking to the large owl and all those little spaces on his belly. Great card swap ladies - Hope you enjoy.
If you like what you see and want to continue receiving great ideas please help support this blog by ordering Stampin Up products at www.debbiebuchanan.stampinup.net