I was asked to teach the ornament that is pictured on the front of the Mini Catalog (see right column). I didn't want to invest in the kit that was offered to make it, and though that there was a way to use what I had to teach this class. The kit is amazing, but I needed to spend supply money on other supplies and not that kit for one class. So after playing around with a few tools, this is what I came up with.
Ya - I love it too!
Please not
e that hot glue works best for this project unless you are into setting an holding your project till liquid glue dries. Glue stick and snail will not hold the projects together. I made one and found it the next morning all popped apart! That did not make for a fun morning!
I punched out three ornament punch shapes for each petal. One from cherry cobbler card stock, one from wild wasabi card stack and one from the designer series paper. You will need four times each one, to make four petals. If you want a larger ornament, punch out five or six of each.
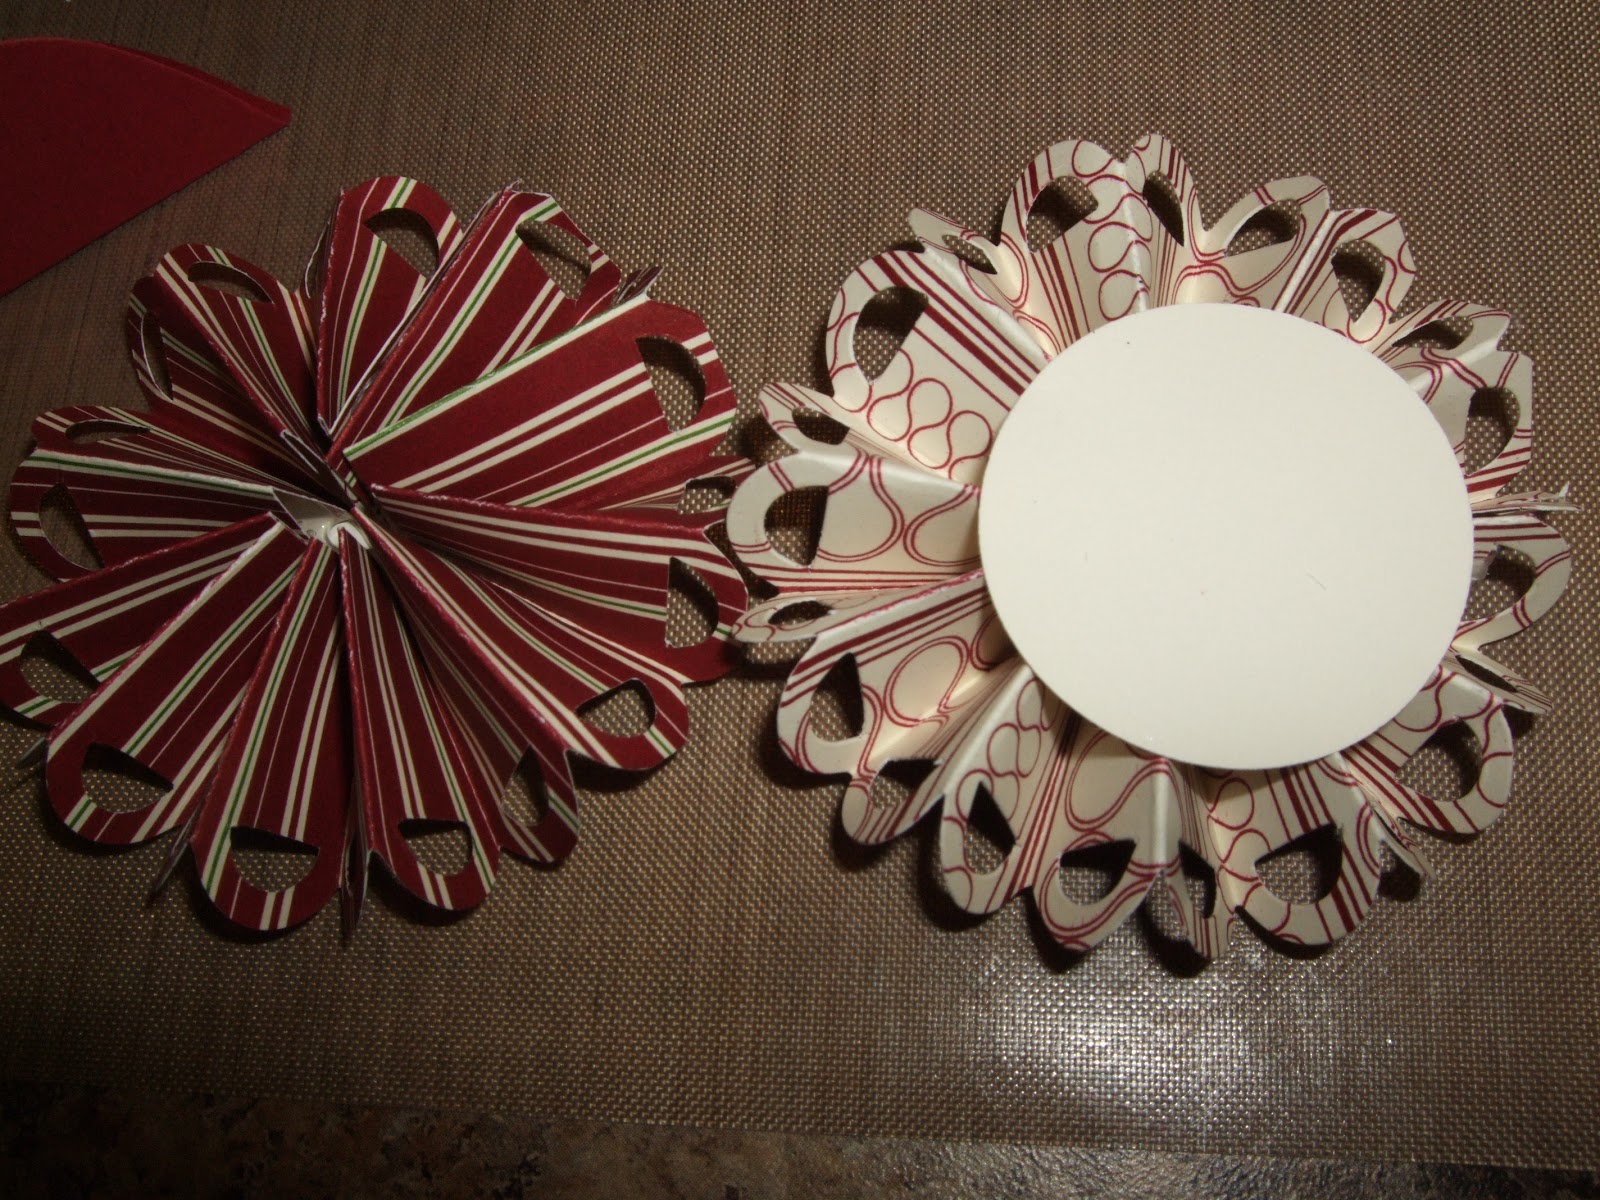
Fold each punch down the center, and put the paper choice you want showing to the inside of fold.
Thne glue one side of the solid card stock folded ornament to one side of the designer series paper fold and repeat with another solid card stock on the other side of the designer paper. Do this to all the punched ornament papers till you have four petals. As show above.
Punch a larger circle out of coordinating card stock glue each petal to the center of the circle as show in the picture above. The below shot is back side of the ornament. You can adjust how you glue the petals to the circle, buy how large you want the finished ornament, or how compact you want it. You can even shape more like a cross, and spread it out more and/or add more petals.
Sorry but I do not have a picture of the next step. Cut a couple of inches of the new scalloped tulle and gather it up and glue it in between each ornament petal. Like a little tuff to fill in that area a bit. See finished picture of tuffs below.
At this point I added a length of twine looped to one of the petal seams back side for hanging. Hot glue in place. Not pictured, but you get the idea.
This is a rosette that was made with a strip of 1 1/2"x 12" designer series paper and the rosette big shot die. Cut and score the paper using the die. Fold it back and forth like a fan and glue the ends together. Add a dollop of hot glue to a punched circle and flatten out the rosette into the glue, hold carefully till glue cools. I lightly flattened the petals of the ornament, added a lot of hot glue to the back side of the rosette punched circle and lightly pressed the rosette on to the petals centering it as best as you can. Hold till cool. You will have the rosette glued to the center of the petals.

I punched out glimmer silver paper using the new snowflake big shop die and glued that to the center top of the rosette. then adding a jumbo pearl to the center of our new faceted buttons and glued that to the center of the glimmer snowflake finished out the project just perfectly. Well almost, it needed more bling... so I added a line of silver dazzeling details around the edges of the inside desiger series paper petal. Let dry a few hours and then it was ready to package and give, or hang on the tree.
Everyone just loved their ornament - and I was very happy! The sisters that were in attendance ordered everything needed to make more with there other family members so they could decorate a whole tree using this idea for their mom and dad this year. What a beautiful gift.
Speaking of gift... a few special hostess' will be receiving this at club this month as a thank you! If you have any questions, leave a comment and I will get back to ya on this post. Help keep this blog alive, by ordering the products needed to complete this project at
www.debbiebuchanan.stampinup.net
Merry Making Ornaments!


No comments:
Post a Comment