 |
| My sweet (oldest) granddaughter will be celebrating her 4th birthday day in April. And grandma (me) wanted to make her a little homemade gift with love. I saw the cutest owl pillow on the net somewhere, and scribble the idea down in my idea book thinking... someday I will make this. So the someday has come. I used some fabric from my oh so loved fabric stash, mostly fat quarters and a few scraps. I so love the way this has turned out. Even my dear honey said ... it was cute, even more so after stuffed. My 15 year old wants one now! |
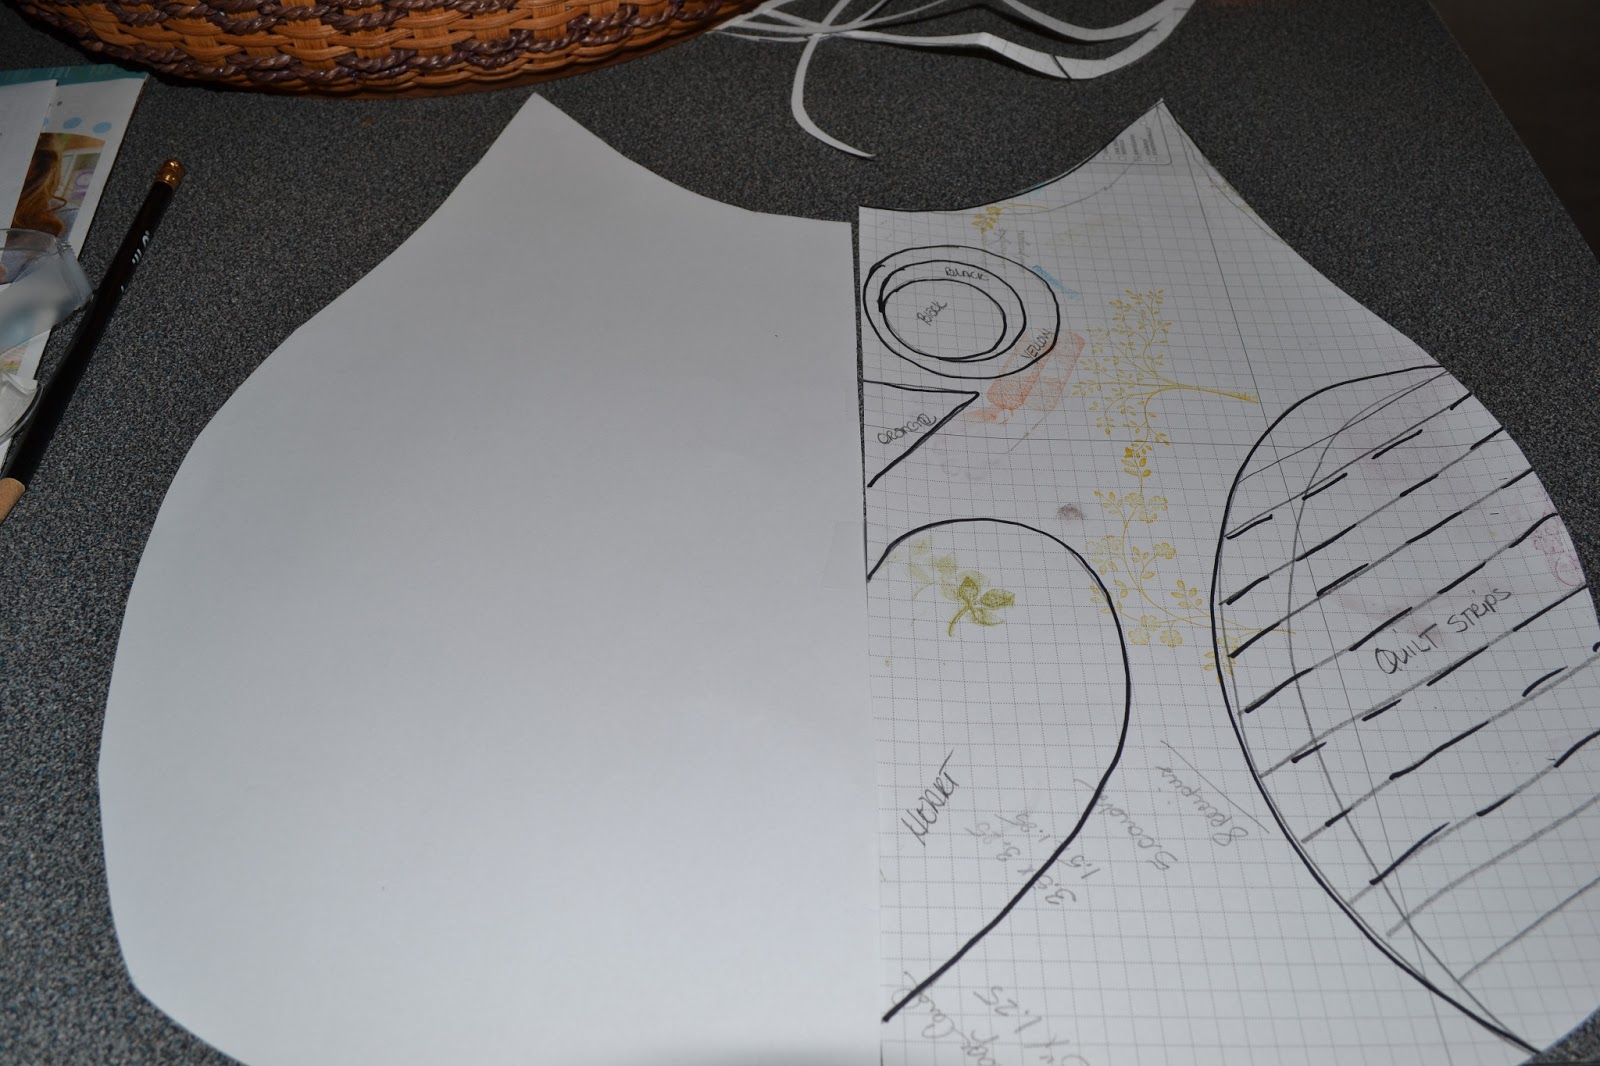
So here is my process. Using a pencil, I sketched just half of the outside shape on my fantastic Stampin Up grid paper pad. Ya the top sheet was used... it work great, and I wasted nothing. I used biscuit cutters for the eye circles. I was thinking if I did just half then the other half would match when I cut it out... it worked! So there is a little tip for ya, draw half and cut out, ahhhh it amatch!
I laid my pattern on the fabric fold, and cut out the outside shape out.
Then I used just the half of the pattern with the parts, and cut those out one at a time so I could keep track of it, and it made the job easy for my and my you know.... ol' brain. I cut the heart and beak on the fold. I cut the white part of the eye from white felt. As you may notice the beak in the finished project is a different color then originally planned, I like the brown beak as it blends in, then sticking out like. It think it made for a nicer more pleasing to the eye finish project.
I then took some left over fabric and cut 1 1/2" strips and sewed them together, iron the seam open. Isn't this fun fabric. My taste in fabrics and prints have changed so much over the years. I used to only love to use the little calico prints like you see in the yellow print above, now I am loving the splash of fun bright kinda contemporary prints mixed in.
I cut out the owl wing from the striped fabric. REMEMBER you will need a right wing and a left wing, so once you cut out one with the pattern facing up, you will need to flip it and cut it out with the pattern facing down.
I put iron-on fusible adhesive to all the parts, wings, beak, eyes and heart. I wanted to be sure the pieces stayed in place when I stitched around them. Then on my machine I quilted beside each of the seams on the quilted wings and then did the blanket stitch around all the pieces.
You see in the shot above that they are all done and I have the right
sides of the pillow together and have stitched around the pillow leaving
an opening at the bottom side for turning and stuffing. Be sure to clip
your curves and notch the tight spots, especially at the tips of the
ears. Turn to the right side out, iron the seams and especially the little bit that needs to be turned in to ease sewing closed after stuffing. I used a whole bag of poly-fil stuffing. I wanted it a bit firm for the shape.
I did add a little bow to the ear. I thought buttons on the eyes would be cute, but I didn't' want any hard parts on it, in case my baby girl wanted to cuddle with it. I am so happy with the way it turned out. It was a nice way to spend an afternoon awaiting a icky storm that is going to bury us in some unwanted ice, sleet and snow. I don't feel to bad about it... there was 22 Robin's in our back yard this week, so spring is a coming! Yaha!
Happy Hoot!


Darling owl!! You are one smart grandma to draw only a half and the other half matches!! Let us know what she thinks of her gift, won't you?
ReplyDelete