 |
| Well as promised, here is the how to on the Filter Flower makings. Once you read through this you will be amazed how easy they are. I used the ever so great Creped Filter Paper # 129393 $2.95 from the not so mini, mini catalog. (link at the left) |
Since I used all of the circle papers for the flower on the box, I used the rectangle ones that are included in the package. Using all of them folded in half and cutting through all 8 layers using the largest Floral Frames Framelits # 127012 $26.95.
Then you can move (twist) them so they are not lined up
exactly and staple the center in a "x".
The
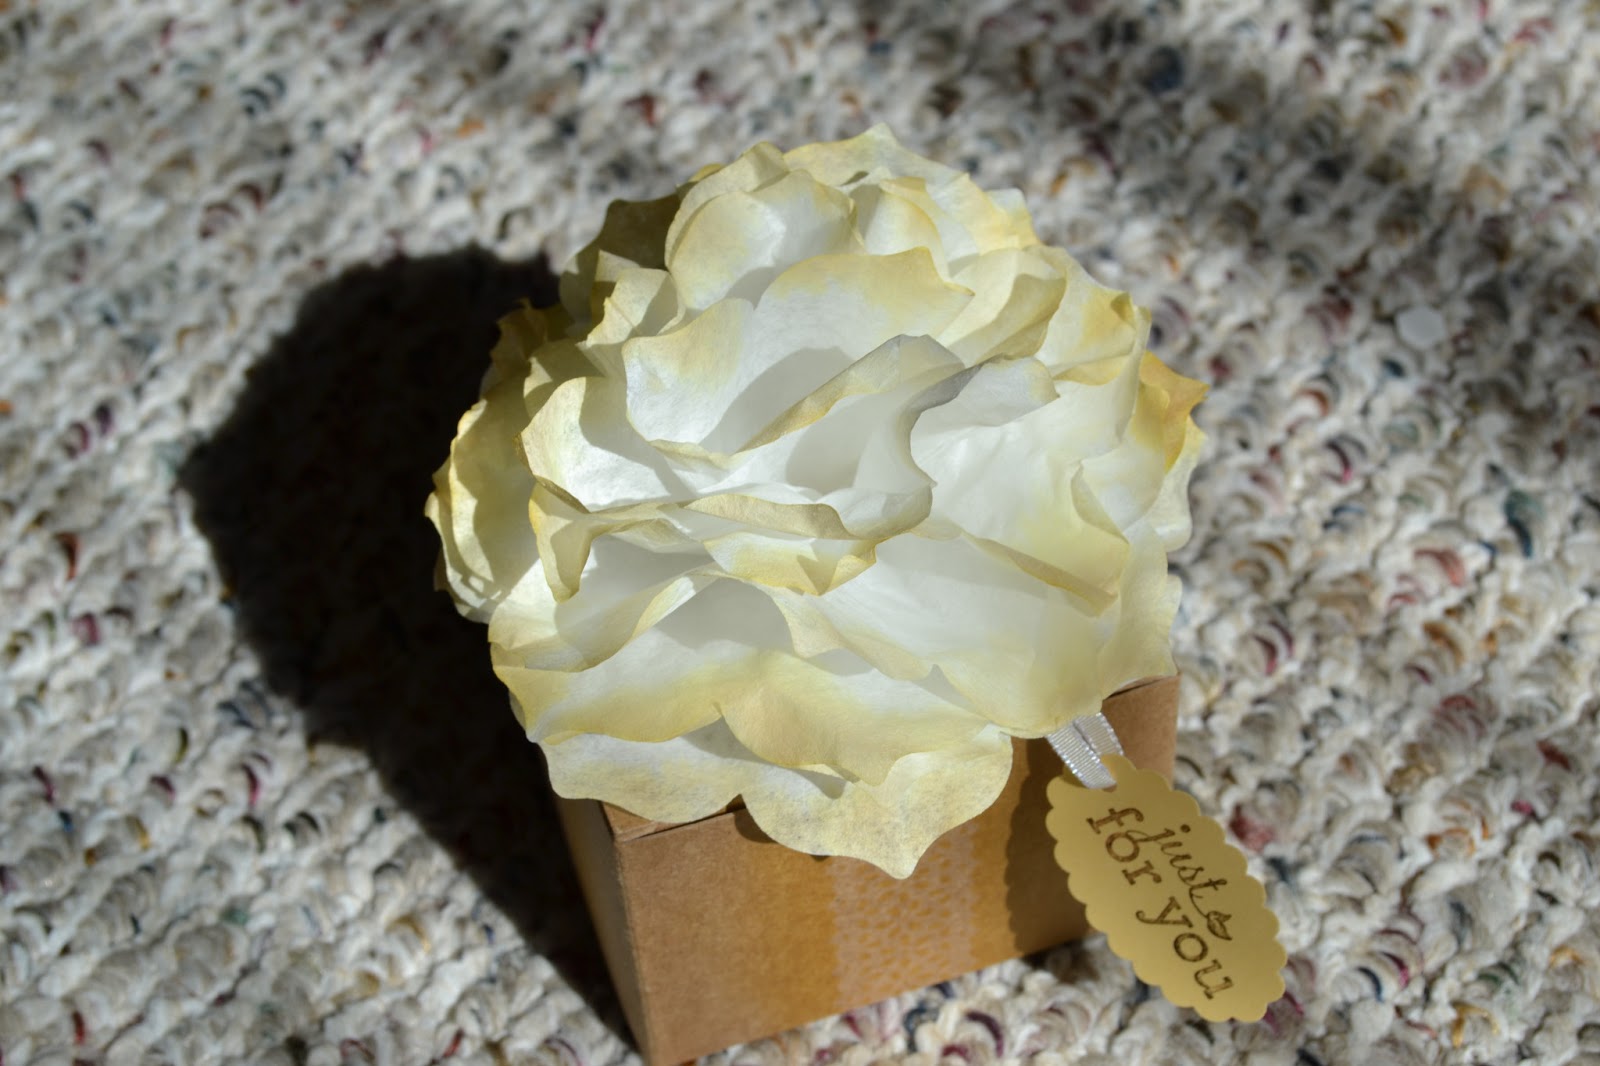
separate the top layer of filter and pinch just above the staple. Move to the next layer and do the same, but pinch them a bit differently so they do not all lay and pucker at the same place. This will give you a fuller flower.
Once they are all pinched you are done. You can see that I have a bit of color at the tips of the flower petals. Using a drop of two of refill ink in a tiny bit of water and a paint brush, you can brush color on the tips. Start with a little, then add a few more drops of ink refill and add a bit more color. Remember you can always add more color to anything, but you can seldom take it away. Once you have the color saturation you want, let the flower dry. Glue onto a doily, or add some leaves. You can also use any size flower punch in the same way, but remember you will need to put in a few sheets of filter paper at a time as you will not be able to punch one sheet in a punch. It will not work well. Gee... wonder how I know that! hahah
Oh make a garden full of these... springs a coming! And not to soon for me, as we got more snow today! Jeep'ers will it ever end this year??
Happy Blooming Flowers!


No comments:
Post a Comment