Fall ATC Swap

Top left by Pam W. Top right by Georgeanne C. Lower left by me. Lower right by Janice R.
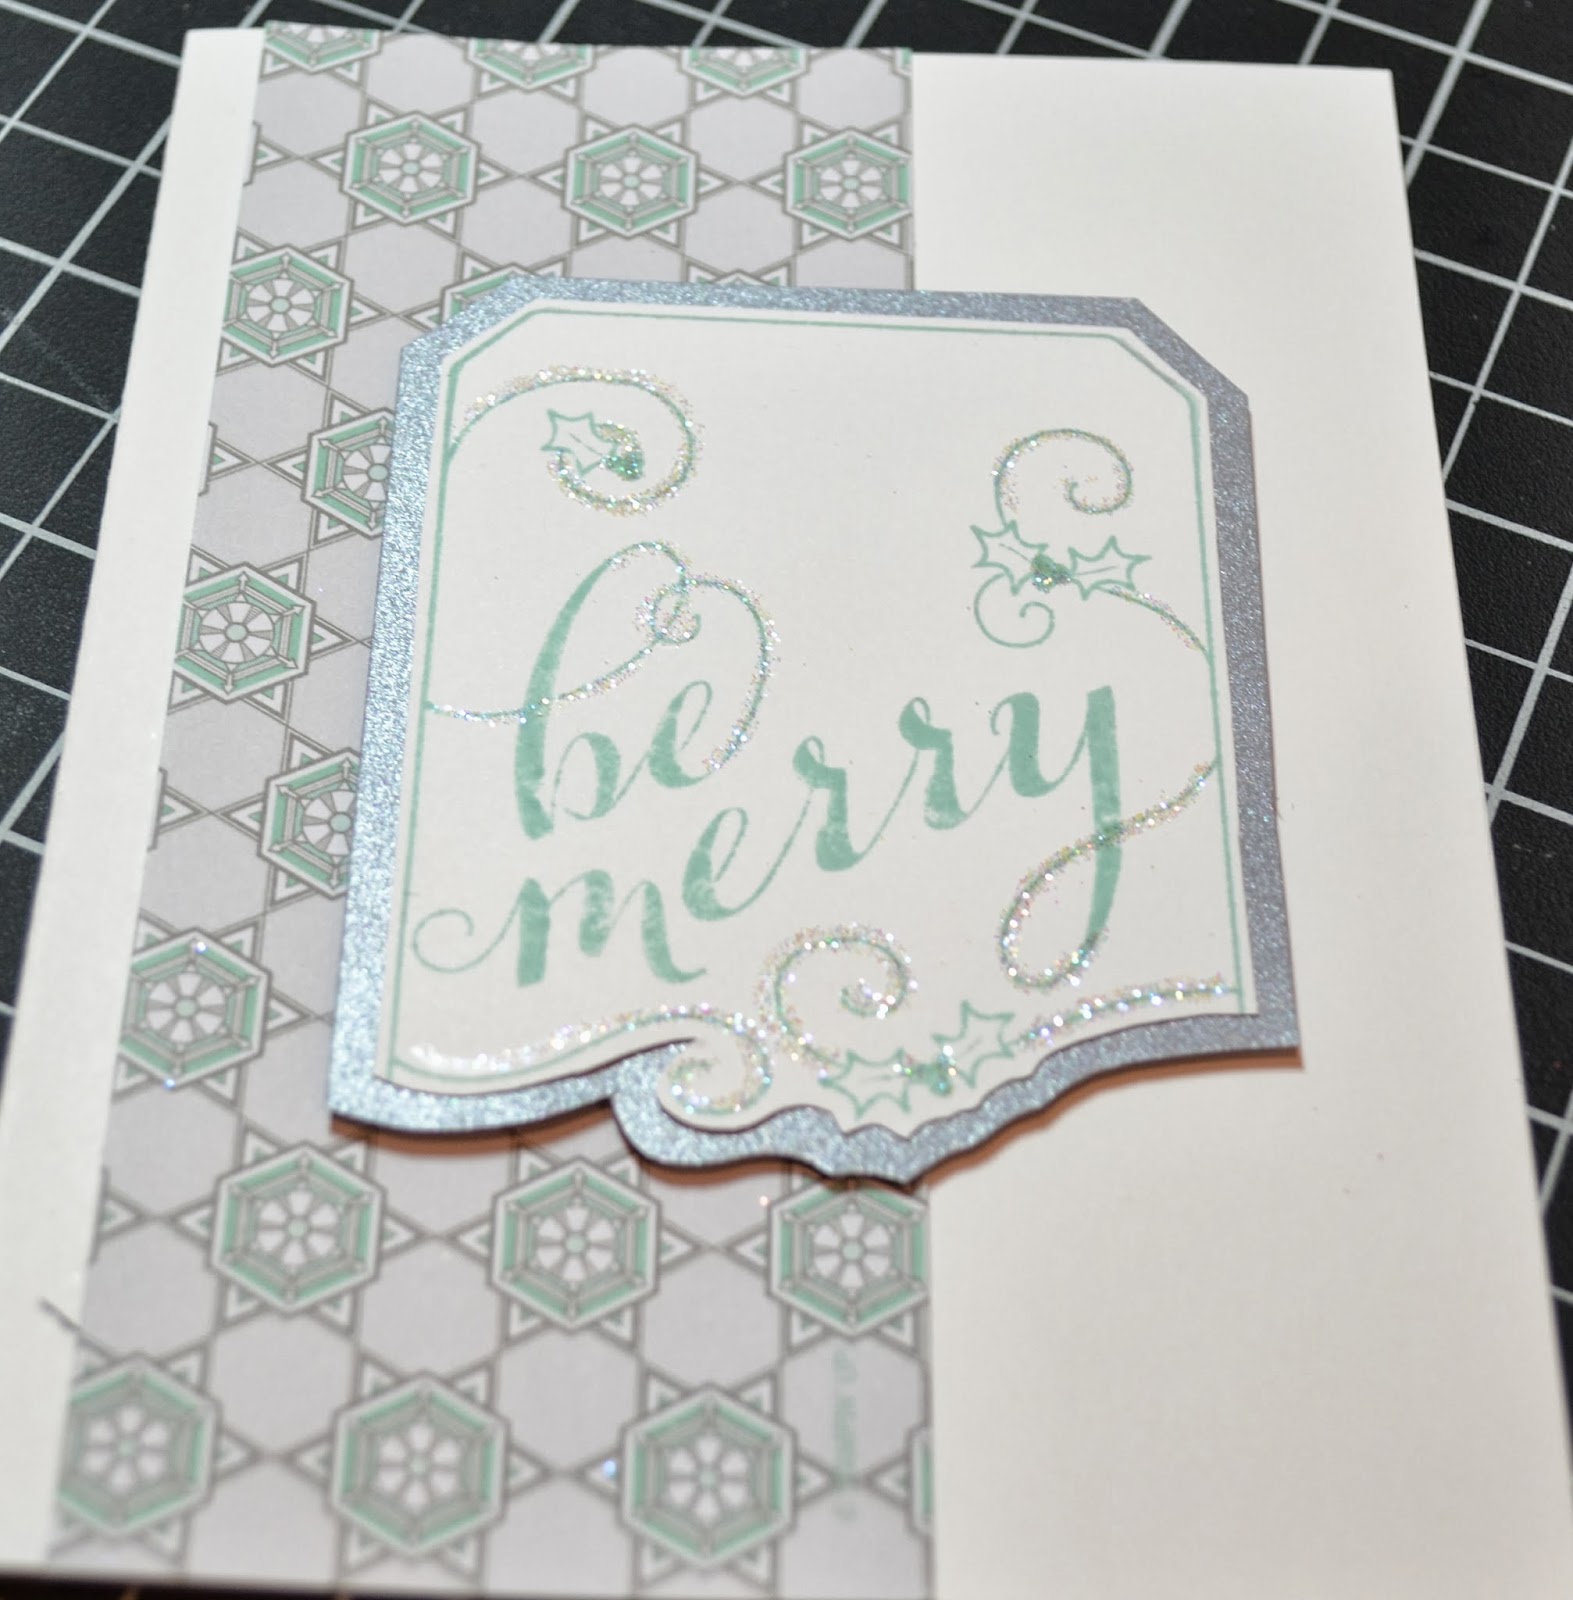
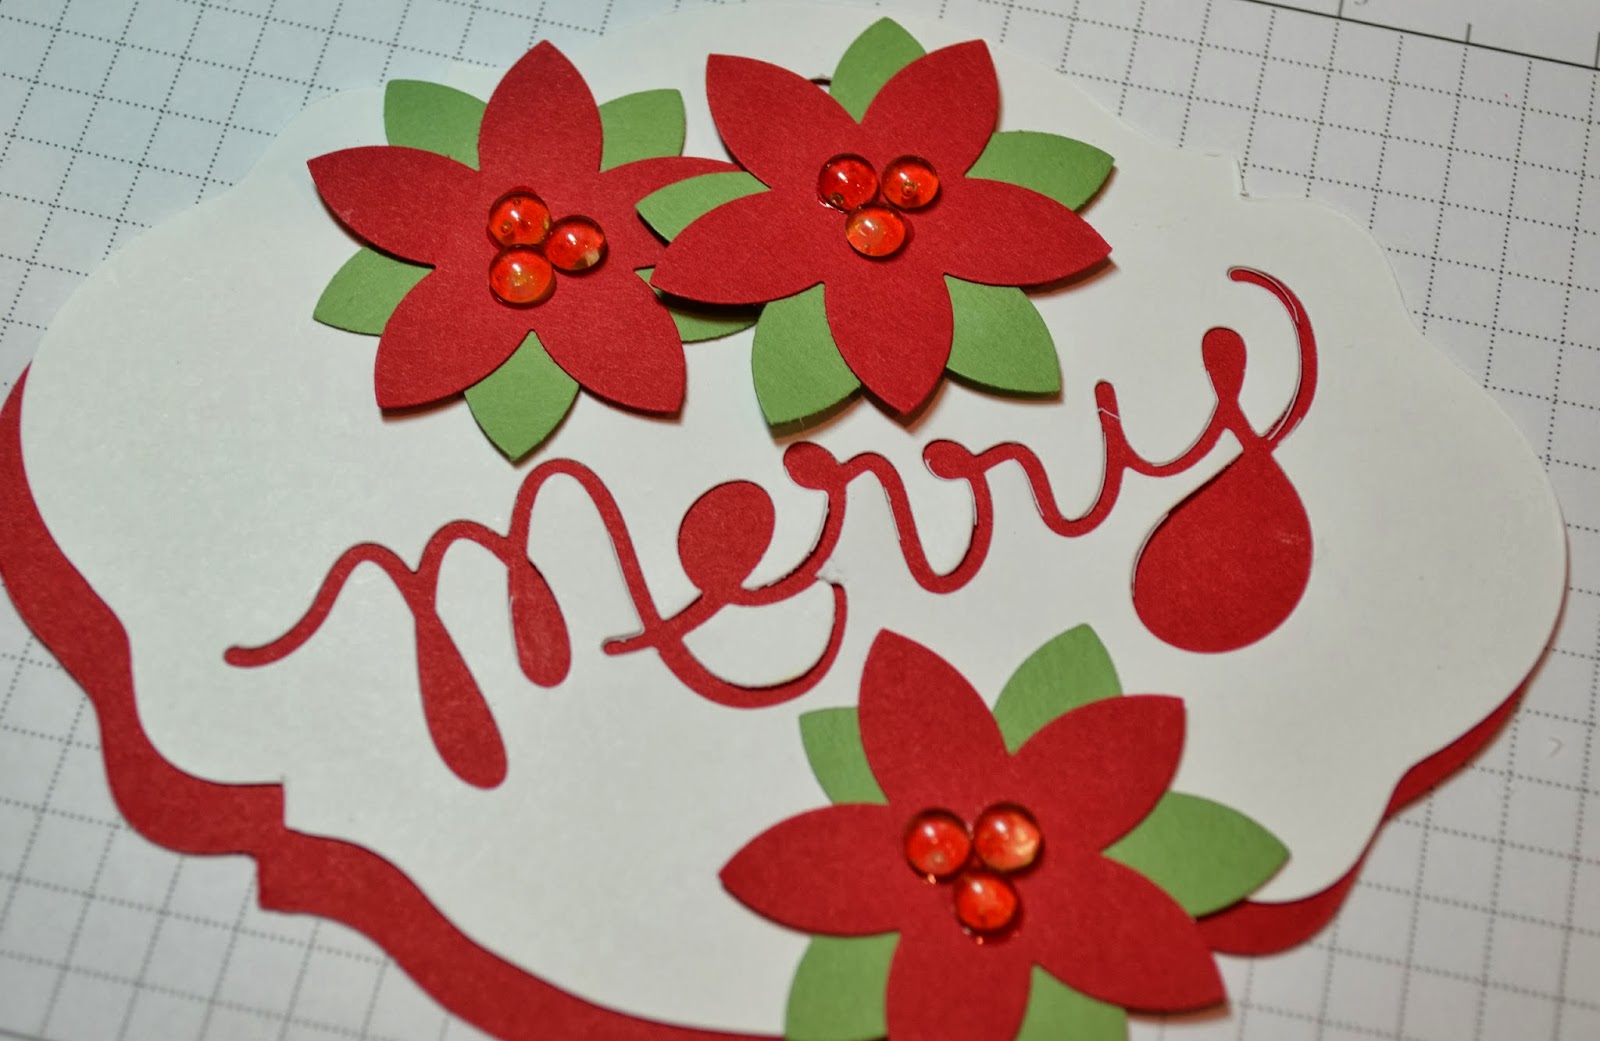
Join in our ATC swaps. Make four  2 1/2" x 3 1/2" little works of art. Theme for Dec is Glitter. Get them to me by the end of the month, I will swap and get them back to you. So fun to collect.

Thankful For....

I am thankful for you! Thank you for supporting me as your creative coach. Thank you for your friendship, your encouragement, your love and the fun we share together. May your Thanksgiving be blessed as much as you have blessed my life.

Circle Card Framelits

The framelits to create this card are uber cool! Cut a 6x6" piece of card stock, lay the framelit over the card stock in your Magic Cutter (Big Shot)! Fold on the scored lines and you have this amazing flippy cuteness card. Check them out - on my web site.

Snowflakes in Color!

Embossed background, Stamped and die punched flakes and blossom, layered with pop-dots, bling added to the center. Not in blues for snow, but in Real Red and Wisteria Wonder. Yep... not so traditional! Quick! Easy! 30 second card and you are ready to send!

Be Mery

The beautiful stamp is available as a single stamp in clear mount only. I so love it. Remember this
set below I shared in a previous post? It is so simple, but so beautiful. I love the swirls in the writting and add a bit of glitter to it... oh my!
Get it while you can. www.debbiebuchanan.stampinup.net

Merry

I had a few "merry's" left over from cutting out the tag shared earlier this week. So I designed this cute card with it. I punched out the starts from the sliver glitter paper, (ON SALE NOW) and pop-dotted them on. Simple, quick but oh so stink'in cute!

Sending Love and Sympathy

The thought of sending Sympathy cards during the holidays saddens me, but I have sent so many these past few weeks. I wanted to share this lovely one with you. It doesn't have to be made into a sympathy, just change out the greetings. I used Soft sky, and vanilla card stock. Soft Sky and Chocolate Chip ink, and Suede ribbon.

Pink Poinsettias

Poinsettias are pink too! I love this page. It is not so traditional Christmas. I embossed silver embossing powder on card stock vellum, cut them out and layered them on. The leaves, after embossing I colored in with a marker. Dots of dazzling details (which is on ON SALE NOW) added to the design. I hope this inspires you to make something not so traditional for Christmas.

Fall ATC Swap

I love making ATC's. They are quick, easy and just so cute in the mini size. I host an ATC swap monthly for anyone who would like to join. Just make 4 and get them to me by the end of the month. I will swap them out and get them back to you. The theme for November is Fall! The theme for December is Sparkle! Hope you join in on the fun.

Joy

I really like the homespun look of this card. I used the new Festive Flurry Framelits Dies and layered a smaller one inside a larger one. Saving paper doing it this way. But then I had the little snowflake to use as the "joy" and pop dotted that in the center. Sponging around all the cut paper really made this pop and give it a warm look to it. 


BUNDLE AND SAVE! 
Festive Flurry Stamp Set + Festive Flurry Framelits Dies = 15% savings for you!
Festive Flurry Wood-Mount Bundle # 133284 Price 54.95
Festive Flurry Clear-Mount Bundle    Price: $46.95 
 
Festive Flurry Framelits Dies #132193 $24.95

Merry Tag

I really like the new Expressions Thinlits. I like it in the reverse, like what was used on this tag and I like the words cut out. These can be a little tricky to use. BUT if there is a will, there is a way, right? So use two layers of wax paper between the framelet and the paper and your words will pop out perfect every time. Well they did for me when I cut all the tags for the tag class. So I am thinking that is pretty good odds!

Expressions Thinlits Dies
Expressions Thinlits Dies 132171
Price: $24.95
Express your love, gratitude, or holiday cheer in a fun, curlicue script. Largest image (Thankful): 5-1/8" x 1-3/8". Use with Big Shot and Standard Cutting Pads. Paper will stick to die after cutting. Push Paper-Piercing Tool through holes in die to remove paper.

And the stocking were hung......

When you flip down the tag, it has the to/from on the inside. I just think this is so cute. I used the new Season of Style designer series paper and our last years stocking punch to create these stocking. When punching out the stocking, I punched out one side of the paper to get the sock, sole, toe and cuff parts, then I flipped the paper over and punched out another set. Alternating the papers created this adorable look with one double sided paper design. Cleaver huh! Sometimes this ol' brain amazes me,and sometimes it is flat-lined.

Guys get Gifts too!


Had to do a mainly manly gift tag for all those wonderful guys in our lives. Uber easy if ya have a few stamps and scrap papers. And nothing says I love you like a hand made gift, with a handmade tag.

New Photopolymer Stamp Set

 
New Photopolymer Stamp Set: Our newest photopolymer stamp set's ikat designs will give an exotic fabric-like texture to your projects.Click on the flyer to see a larger view.
Remember all these great Photopolymer Stamp sets. You can order one or all HERE!

Mosaic Anyone?

Once in a while I hit a home run... well no not with a ball and bag - Ah that will be a day. I can't even see the ball coming at me, let alone connect with it with a bat!

I hit a home run on the creative scene. I am loving this card. And easy... holy molly it takes just a few seconds to make it.  I used card stock vellum for the base. Embossed "smile" with white embossing powder. Punched out the mosaic's using our beautiful designer series paper, Eastern Elegance. Pop-doted those babies in place. I cut and glued a bit of Crushed Curry card stock on the inside.

Wowzers! Home Run! Well I think it is. You can do this layout with many different shapes and colors. So what'ch waiting on, me to cut the card stock! Oh will let me tell ya..... I did!

This is one of the cards that the card clubbers will get to make this month. Want one? I can do that. If you cannot come I can get a Make at Home Packet ready and drop in the mail to you. I just need $12.50 from you in advance for a packet to have your name on it and you can make this card and four other ones that are just as amazing in your own home!


Vintage Tag

Are you loving all the tags I am sharing lately? Well these are what everyone made in the tag class. If you miss a class like this you really miss out. What a fun afternoon with friends. I even baked amazing Chocolate Cake Mix Cookies! Yumm. Hope you will sign up and attend a class soon. There are super fun!

Christmas Greetings

Isn't this pretty? Isn't it wonderful? Oh it is really .... Isn't she pretty... Isn't she wonderful.....  bla bla bla... now I have that song stuck in my head - you too! Good grief it is 1am as I get a few posts in and now I am gonna have a song stuck in my head! Well hope you enjoy the song and this cute card.

Thank You

Did you notice the strips of color behind the Thank you? Are you wondering how did I do that? Well my Stampin friends that attended Card Club last month learned all about it and got to do it for themselves.

I bet you want to know how too.... Ok I will share. It is really not hard. You just need some painters tape and an ink pad. Take a strip of tape and lay the sticky side on the ink pad. Oh no worries you won't ruin the pad. The lighter the color the more you have to rub the non sticky side of the tape in the ink. Then lift the tape from the ink and lay it on your card stock. Lightly smooth out the tape on the card stock. But not to hard as you don't really want a good stick. You just want to transfer the ink from the tape to the card stock. Then very carefully pull up the tape. Wa-la! its the ol' inked tape trick!

So now it is your turn! Try it out and let me know what ya think! 

Oh and by the way thank you for visiting my blog. I appreciate each and everyone one of you that visit. Hope you enjoy the posts.

Houses for the Birds


I am so pleased with my students - wow that sounds so formal! I am so pleased with my friends and there Birdhouse Art Journal Pages. We used acrylic paint, perfect paper adhesive, scrapbooking paper, black markers and a white wash technique. They all turned "I can't do that", in to "Wow, I did that!" Ya wow.... a little encouragement, a few instructions and everyone can be an artist. It may not be what you thought it would look like the first time you try... but keep trying, keep practicing and just get some art on the paper. You will be surprised at what you can create as time progresses and your skill improves.

Snowman Tag

With all the snow tags I have shared.... we have enough to make a snowman! Isn't he just the cutest. Three different size circle punches glued build his body. Cut a "Y" for the arms, or even better go look for some little branches in the yard. A square for the hat, and strip for the band and rim. Black marker dots for face. Super long orange triangle for the nose, and stamp the to/from. Oh punch a hole in the hat to hang from a package or tree. Hope you are inspired to build a few snowman... out of paper ..... inside.... in the warmth.

Blizzard Tag

Now we are in a blizzard! Ha, well lets hope not. Using the new snowflake dies and an old snowflake punch I created this beautiful tag. I can see a bunch of these double sided and made for a tree, or a window. Love it! You love it? Order it quick so you can get it and get to making a few of your own.

Snow Storm Tag

I am not rushing the winter snow storms, but this tag is so cute. I used a retired stamp set that I dearly love. Hope you are inspired to break out some old ones and create a few tags for the upcoming holidays.

Tag a Box

I wanted to share another convention project with you today. Oh since the holiday season is approaching very quickly. I don't know about you, but I bake tons of cookies for holiday gifts. I have kept up with a holiday tradition over the past 16 years of delivering cookies to all the neighbors on our road. These boxes will be perfect for packaging them this year.  If you would like to order some, just click on the highlighted item numbers and the link will take you right where you need to be to order.

Tag A Box Bundle #131372
Price: $12.50
Tag a Box gift boxes and Tag a Bag Accessory Kit in one package! It has everything you need to make treats extra-special. Coordinates with Bermuda Bay, Crushed Curry, Gumball Green, Smoky Slate, Tangerine Tango. Includes:

* 8 sturdy Kraft boxes, each 6-7/8" x 2-1/8" x 2-1/2", and acetate sleeves
* Food-safe
* 10 large base tags
* 10 medium builder tags
* Baker’s Twine, 20' each of 3 colors: Crushed Curry, Tangerine Tango, Bermuda Bay
* 10 mini clothespins
* 5 Smoky Slate self-adhesive strips, each 12"
* 40 Stampin’ Dimensionals
 Tag a Box Bundle
You do not have to get the bundle as the boxes can be purchased seperatly as well. 
Tag A Bag Gift Boxes #130927
Price: $6.95
Easy way to create party favors, gifts, treats. Coordinates with our Tag a Bag Accessory Kit. Sturdy Kraft boxes with acetate sleeves.

* 8 boxes, each 6-7/8" x 2-1/8" x 2-1/2"
* Food-safe

Squeel, Hoot, Holla! part two

Oh my goodness, oh my goodness... guess where this is? Just a little sneak peek.
Remember this post?
Well here is the closet with doors on and the drywall finished and painted and even decorated.
And here is the inside. I am all moved in and pretty well know where everything is. I even have a bit of room left over... well not really that one little spot is for my little sewing machine that is in the shop at the moment. I love my closet. It works well in hiding all the stuff and it functions great. Thanks to my contractor for doing such a great job on it.