Cut it Out!

This fancy card is one of Anita Taylor's creations. No she didn't cut it all out! It came in a sheet - ya that would have taken some time hyh!

By Rozella

Rozella is the sweetest little ol' lady. She is also the oldest that comes to my Stampin Clubs. She loves to stamp and eager to learn new ideas! Here is her latest creation.

More Coloring!

Debbie L. made this pretty card. She Embossed the stamped oulines and then colored it in, as sponged a bit of color to the background. I have hem-hawed around about ordering this set...love the bird and the daisy flower that is in the set. It is just that it is a color in set.....and I know myself to well..... won't take the time to color! Maybe I should rethink that huh! You can find Every Moment stamp set on page 118 in the catalog - click the Idea book & catalog link on the right to view it and order it!

Blooming Flowers

So simple yet so rich and beautiful. Using the petal punch and then embossing the punched petals and then hit it with a bit of ink gives this card it rich look. Simple, but looks like it took hours to make. No name on it and it has been to long since we swaped I dan't remember who to give credit to.

Thinking of You

What a beautiful card to give a friend. Judy H made this for our monthy swap. I love the color combos. Saffron, Soft Suade, Baja Breeze, and Regal Rose. Trendy Trees stamp set.

Coloring

I don't know who to give credit to on this great card. As you know coloring is not one of my favorite things to do - as I always say.... "If I can't get it done in 30 seconds, I won't do it!"  But I sure do love the way projects turn out when time is take to color them in. I love the simple clean style of this card.

A DOILLY WILL DO!

I love the use of a real doilly on this card made by Anita T. She used all Stampin Up product sto complete this, except for the doilly!

Happy Mother's Day


I made a bagillzion of these for our Mother's at church. I used Stampin up amazing new flower die and felt. I tied the layers together with embrodery floss and a button from my granny's button can, then glued on a pin back. It was a fun project and hope all the ladies at church love it.

LILLY DOLL

Isn't she just the cutest thing ever? I made this for my grand-daughter Sadie's birthday gift.
Here is a close up of her face.  Lilly has a heart embroidered on her chest. Lilly stands about 19" tall. She is crocheted out of cotton yarn.
She took me about 5 weeks to make. Ya a little slow I know, but when you have very few evenings to sit and relax to get something like this done it takes longer then necessary. The pattern is easy, except for the dress. I had a bit of trouble with the count on the dress and started it/ripped it out, started it/ripped it out, 3 times! So I quit and made up my own. So the shape is a bit different then the original design, but it fits, it works, and it is still stink'in cute as can be. I got the pattern free from the Lilly patterns site (do a goggle search to find the site)  - that is where "Lilly" got her name. Will I make another? Maybe... I usually don't like doing multiples of projects - they become work instead of pleasure to me. Hope you love her, like Sadie does.

HOMEMADE WEDDING GIFTS

Swirled granny squares are a mess in the making to complete this cute pillow! I had all 5 colors connected at one time and changed colors every 4-5 stitches or so and ended up with a huge knot. But it was a great pattern to use up bits of yarn scraps.
Here is a close up of the swirled square. Cute huh! I even embroidered "love mom" on the back corner.
There has to be paper crafts in this gift if it is coming from me. So I used that amazing PPA glue and downloaded the background design from some kind persons awesome blog. Glued the background to the. frame and album cover. Then rubbed More Mustard ink over it once the glue dried. Stamped the designs in red and old olive. Added an embellishment.
All wrapped and ready to go! Oh and it's OK that I share this with you as the wedding is over. The cash that we stashed in the card was a welcomed addition to this handmade gift.

CALENDAR CREATIONS CONTINUED

A little bit of white craft ink to stamp up a bit of the background and layered card stock.
Cut the card stock into a tag shape and layered up the papers, added some fibers and popped it on the card.
Here is the last one and all I had time for in that fun stamping session. Hope you enjoyed and are inspired.

CALENDAR CREATIONS

This post is all about turning that stash of trash into a treasure again.  These calendars are from a 365 tear off a day type calendar that was given to me from a past co-worker...oh about 4 years ago. Pathetic right! So check out the next few shots of some anniversary cards I made using a few of the pictures. I incorporated the napkin trick to this, but the paper from the calendar was a bit thick to get the the right look, so I opt to just glue it on using the Stampin' Up! adhesives.
This lighthouse  was the first card done on watercolor paper and I kinda dry brushed the background. I am not really happy with the background paint job, but covered it up with a few swirls and just went with it. It will be fine - someone will love it...well they better! It's ok that the artist isn't happy with it, but the on lookers better love all handmade things given. At least to your face right?! Ha!

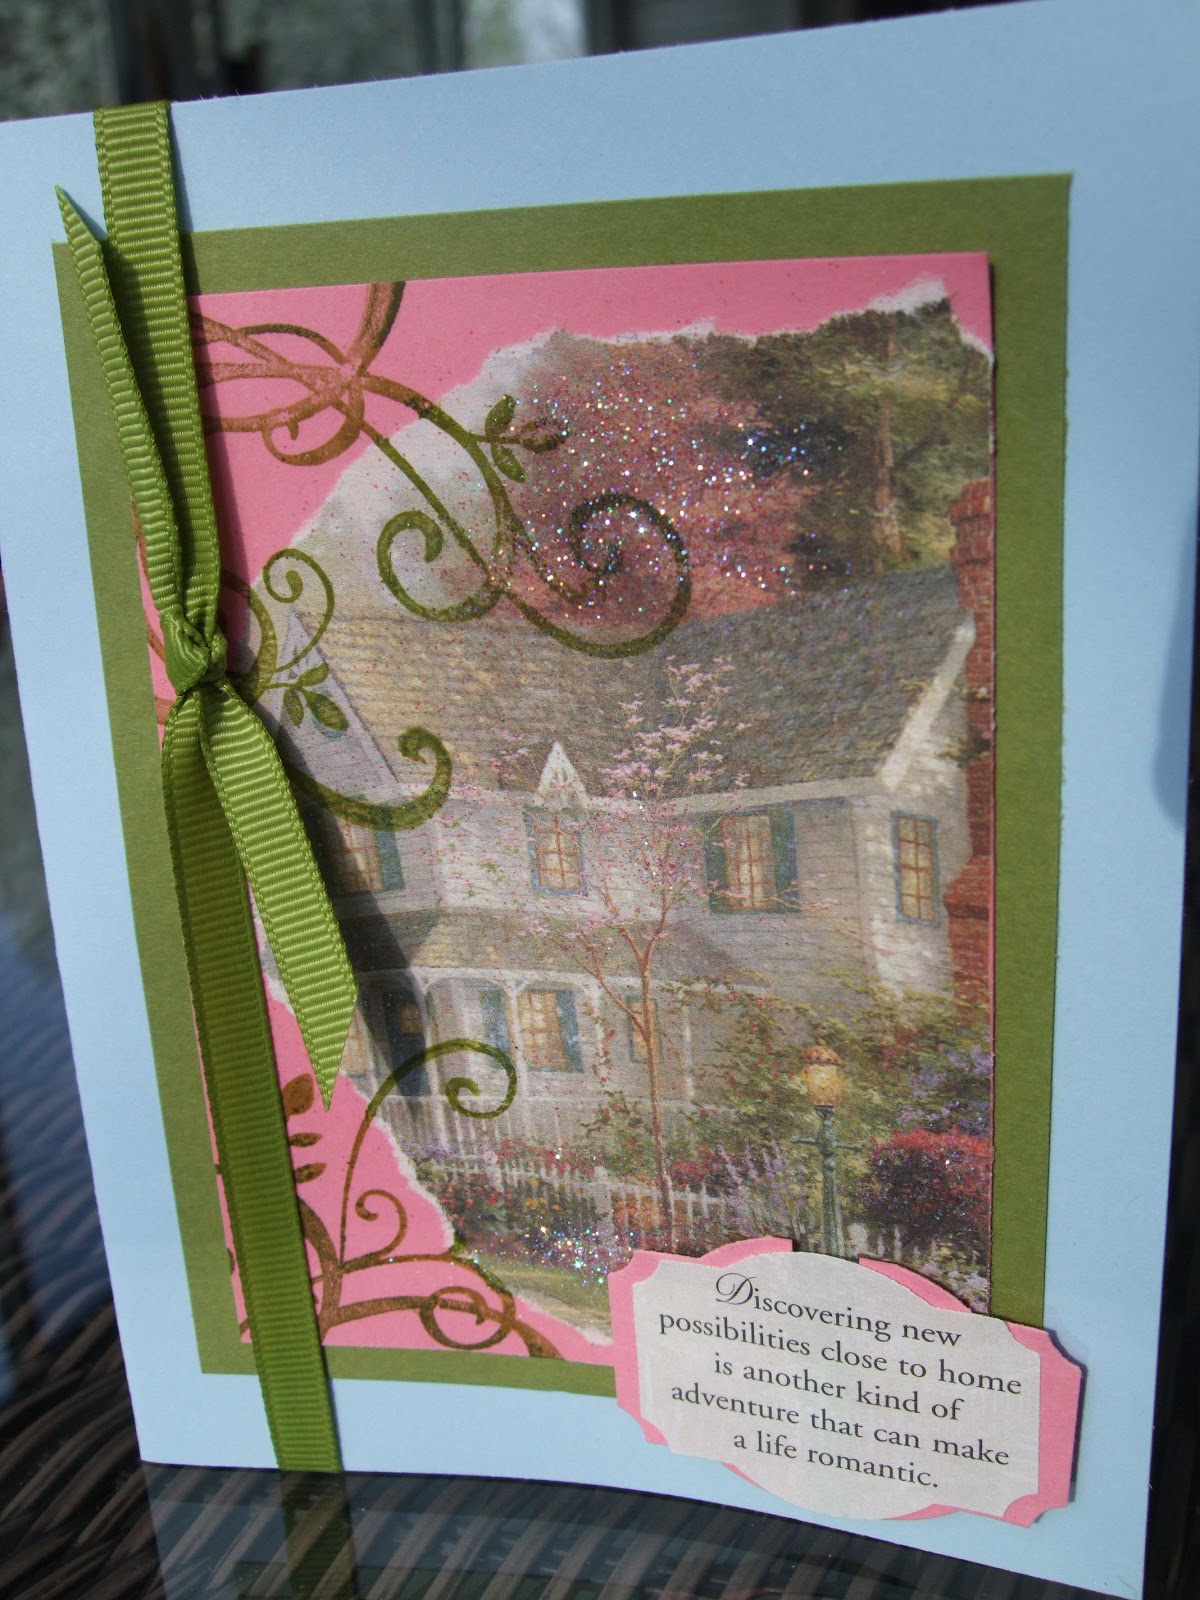
I am happy with this one. All I did was layer the papers, tie a ribbon, stamped a few swirls and added some sappy verse that was on the calendar and 30 second card ready to send. Look for more card samples using this trick in the next post. Happy Stamping!