

So Good
Remember the Days Blessings

ATC share

Poppies

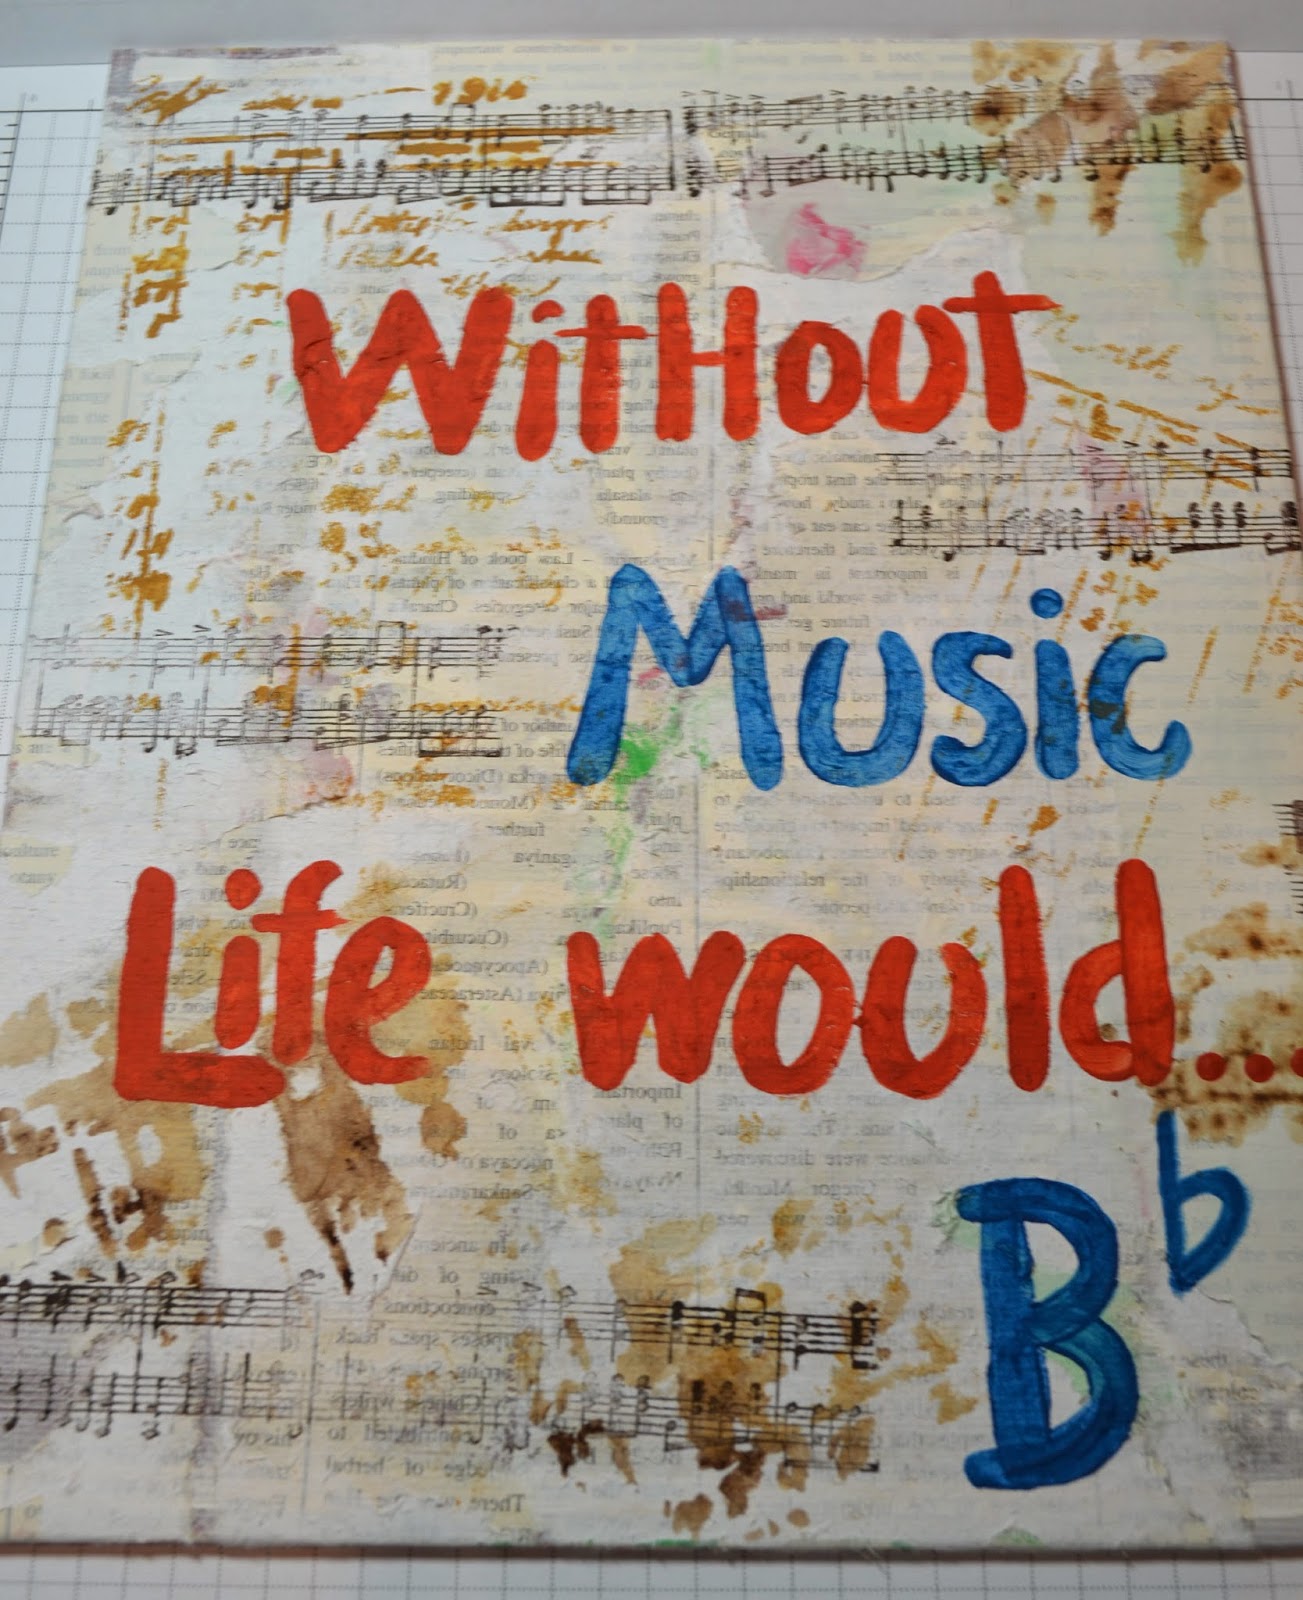
Life would be flat
I started out by painting some poppies... well you can see the remits of the red and green paint in the back ground... they turned out like well..... lets not talk about what they turned out like. I think I am better with a pencil then a paint brush.
I covered that mess up with gesso... well that left bumps in the canvas because of the first mess....
So I covered it with a layer of torn double sided designer series paper and did a light layer of gesso over that. Well it was to wet and my paint brush was pulling the paper up... oh my gosh it almost went in to the trash.
But I thought to myself, SELF, what would Cindi Estes do? She is the queen of multi media layer art. So I laied down my paint brush and rubbed that curling lifting paper till I had even a bigger mess on my hands, fingers, clothe,s work station, hair.... well all it did was pull the front layer of the double sided designer paper up, and left the other side so the back ground words are back-wards! Good grief! By the way when did the word good and the word grief go together? It is such an oxy-moron!
Ok, so I let that mess dry and went and cleaned myself up a bit. Came back to it determined to get something worth while out of the mess I made. I used a stenciled and sponged some ink on it, THEN got the stupid sponge to wet and sponged more paint, (watery paint) over the stencil and now it looks like spilled coffee grounds... well at this point it was just perfect.... A PERFECT MESS!
I let it dry and thought come up with a simple saying, so I painted the little greeting, thanks pintrest, and got out my Stampin Up Music wheel, wheeled in Staz-On Black Ink a bit of music notes. I almost stamped my Amazing Grace music sheet stamp on it, as I was given some AMAZING GRACE getting this project completed!
So what a lesson... Without Music (or my mess) life would be flat and I wouldn't have experienced the grace it took to complete this one. I think I like less messier, less complicated projects. Will I make another one... Not on your or my life! I will paint or pencil another... but I don't think I will to this messy again.... ha ya, open mouth insert foot... stay tuned and see what happens next in the Stamp Pad messy adventure!
Build a Burger
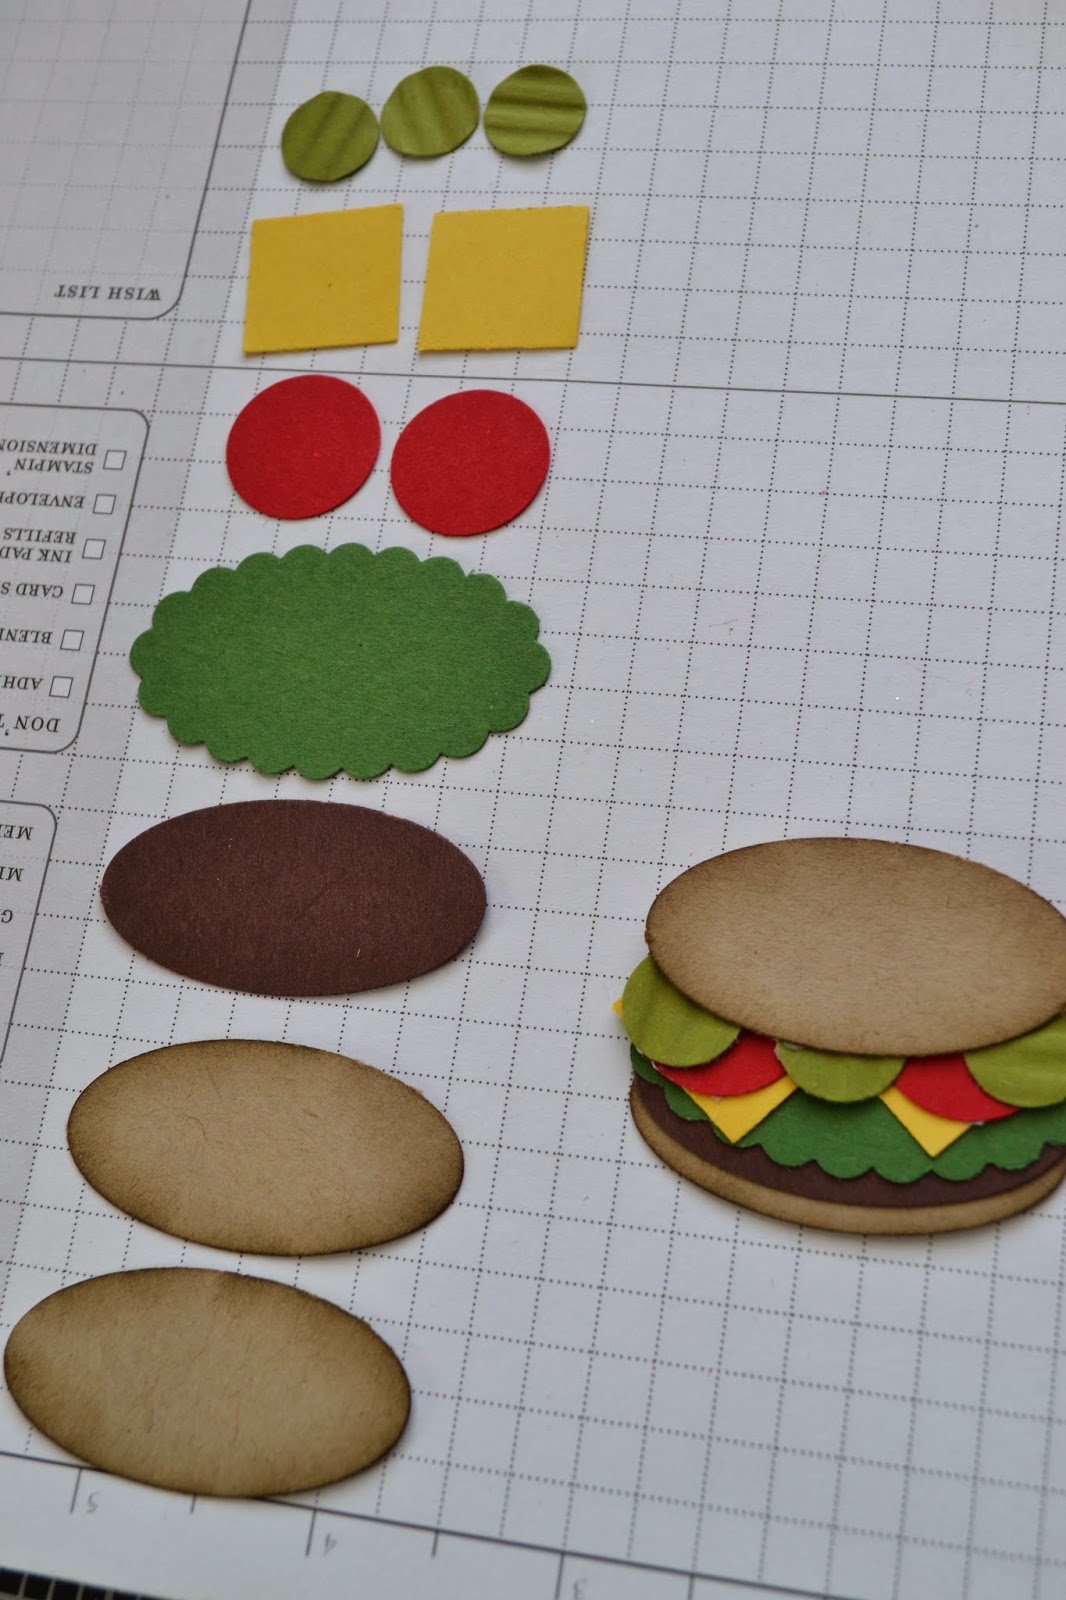
Ok on to the Cheese Burger. At recipe club this month I shared my Cheese Burger Soup and Cheese Burger Flat Bread recipes. (Papa John's ain't got nothing on me and Cheese Burgers!) And we used this adorable Cheese Burger in the layouts.
So you will need from the bottom of the picture working to the top, using card stock:
2- lg oval crumb cake punch, dauber with brown ink for the bun top and bottom.
1- chocolate chip lg oval punch for the burger meat
1- scallop oval in garden green for the lettuces
2- 1/2" real red circles for the tomato's
2- 1/2" daffodil squares for the American cheese slices
2- 1/4" old olive circles, for the pickles. Run the old olive card stock through a paper crimper first, then punch the pickles out! So stink'in cute right!?! I like how the pickles came out.
I don't like onions on my burgers, but you could do some circles with the center punched out in white and add some onions on it.
So are ya hungry now? Go make some Burgers!
Remember

Sing and Dance

Celebrate

Click on any of the items to take you to the order page to add this and more to your collection.


| Starburst Sayings Wood-Mount Bundle | 134817 |
| Price: $44.95 | |
|
Oh,
happy day! This stamp set is a burst of sunshine with several diverse
sentiments, perfect for a variety of projects! And the Starburst
Framelits Dies make cutting the Starburst Sayings images quick and easy. Buy the Starburst Sayings wood-mount stamp set and coordinating Starburst Framelits Dies together at a 15% discount. | |

You do not have to get them in the bundle, but you save some cash for other things if you do. This is a fun shape to just cut out of designer paper and used as filler pieces and in layering. | |||||||||
Few have Died!

Come On Spring

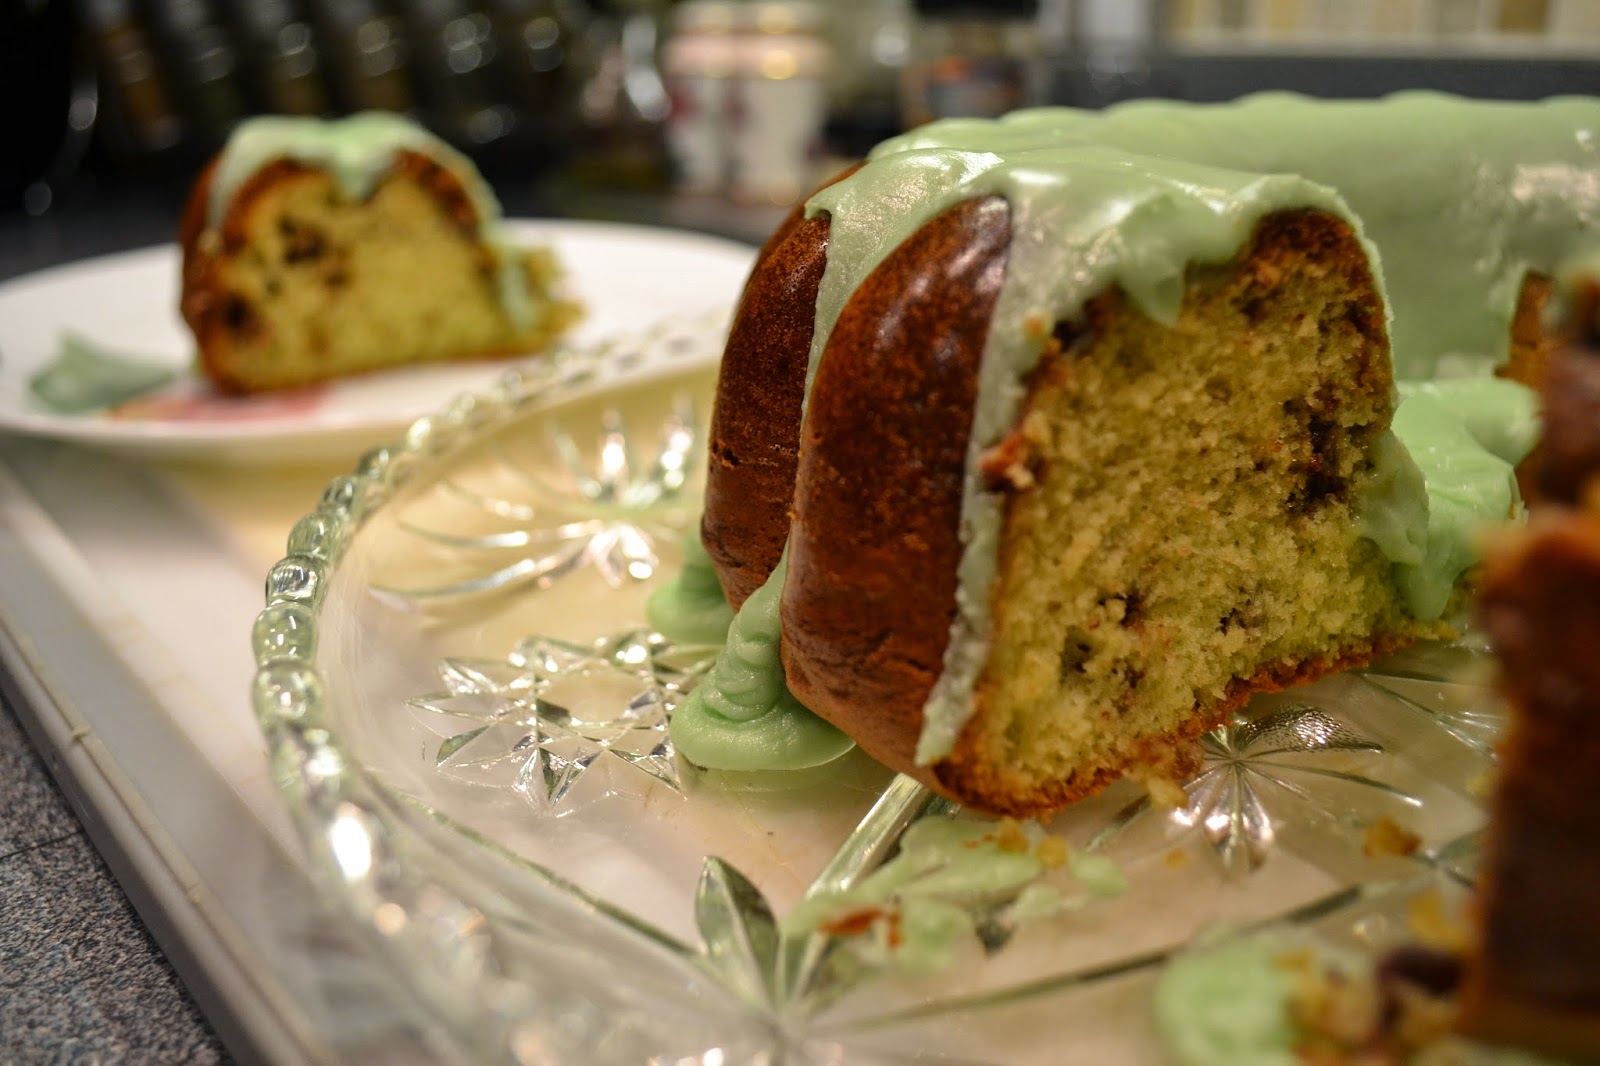
Cake
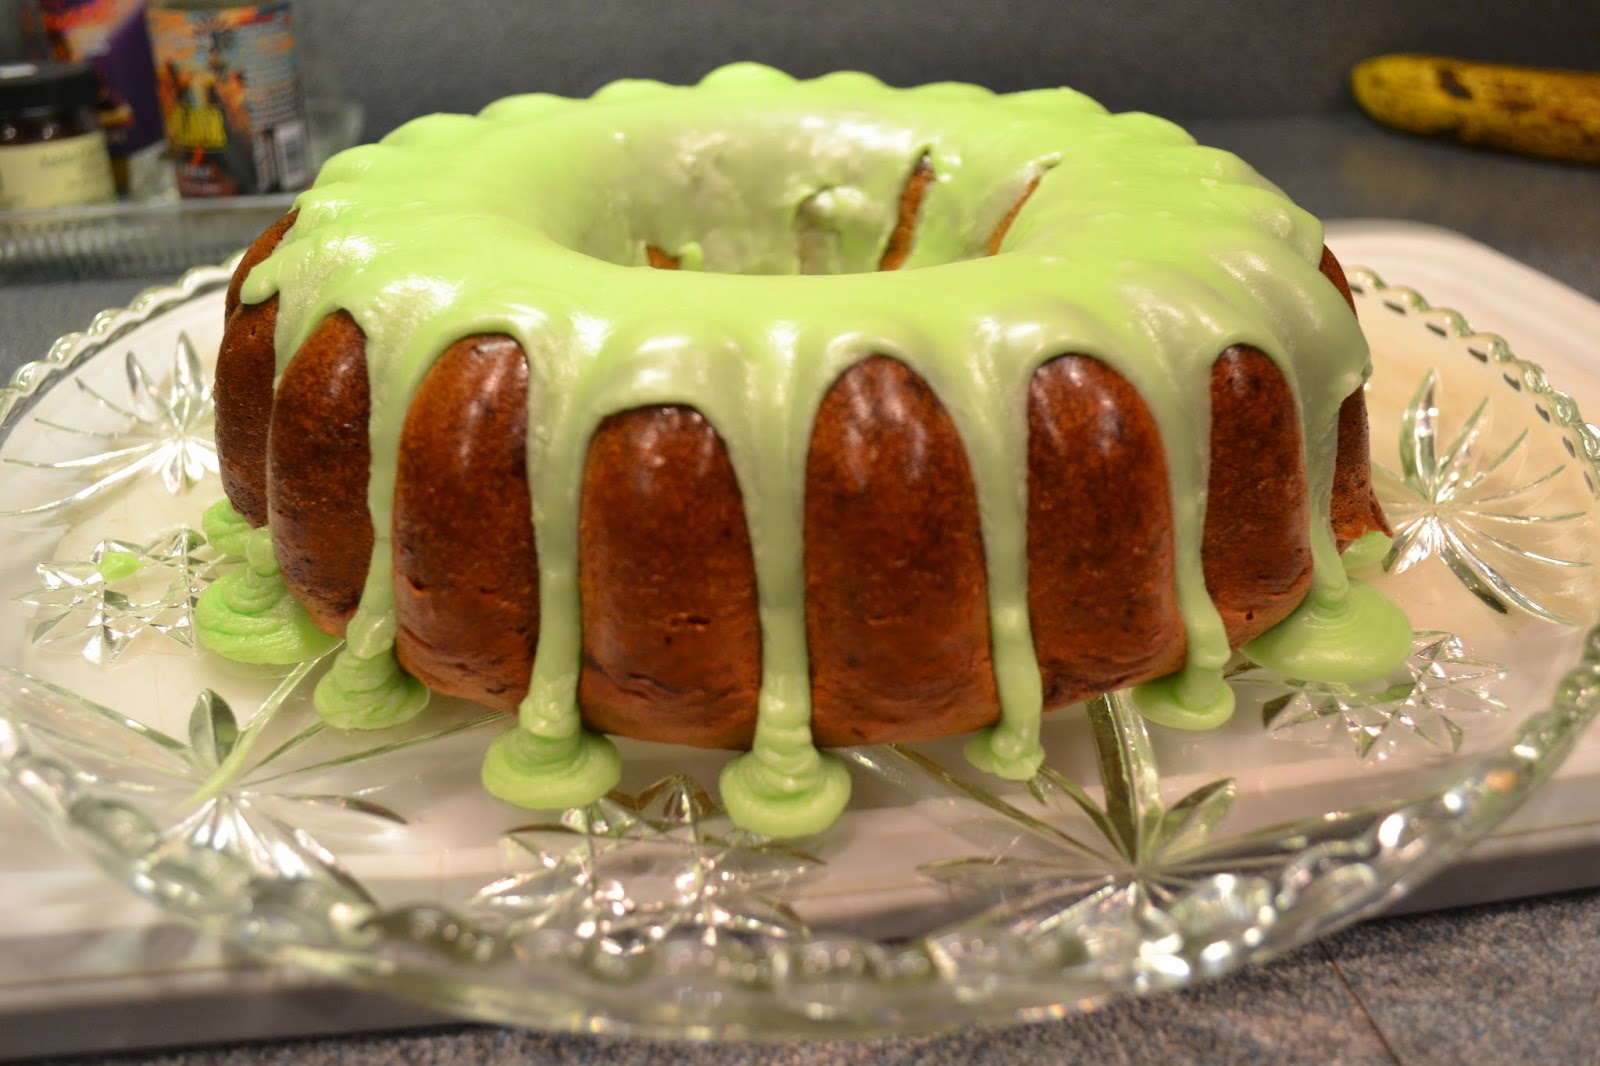
It was the perfect green cake for St. Patty's Day.
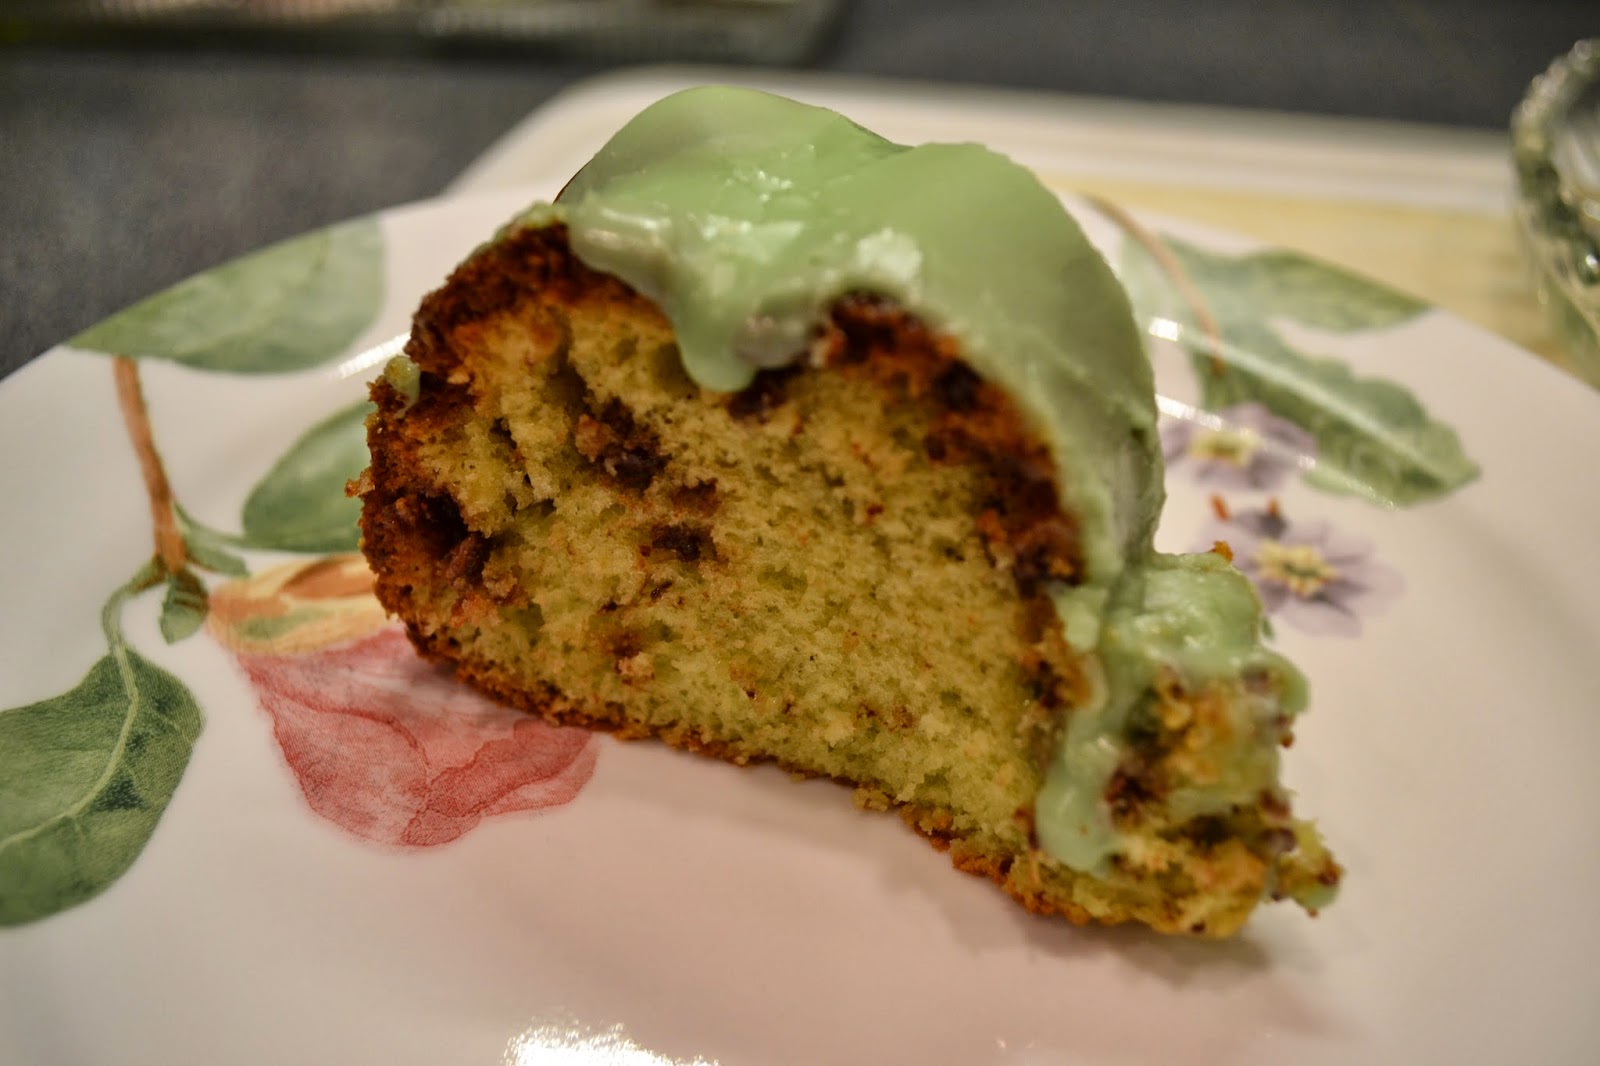
Yummy chocolate chips inside too.
So you want some?
1 white cake mix
5 eggs
1/2 C Milk
1/2 C Water
1/2 C Oil
1 C mini Chocolate Chips ( I didn't have mini ones on hand, so I chopped up regular ones and it turned out great).
2 small boxes of instant Pistachio Pudding. (I only had one box of this on hand too, so I used one vanilla pudding and one Pistachio pudding. It still turned out great, not as green in color as Penny's, but still good.
Blend everything together.
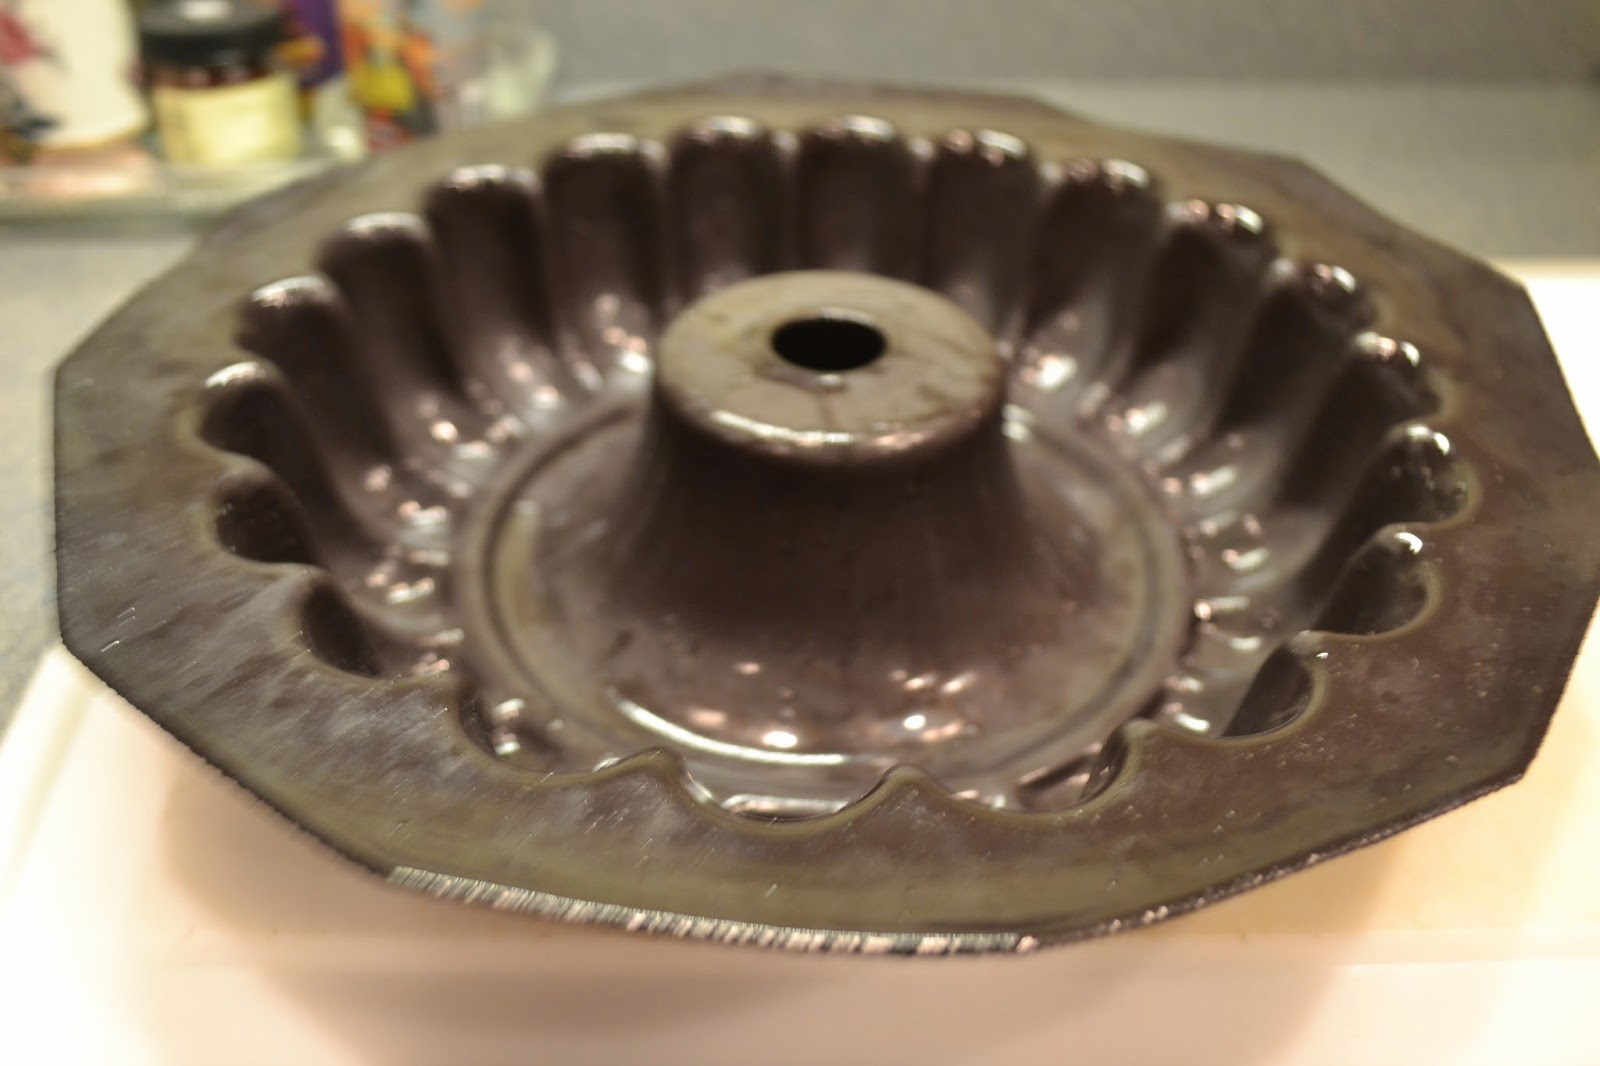
Grease and flour bundt pan, you don't have to do this step using a Demarle Pan!
Bake 350 degrees for 55 minutes, or until done. In the Demarle pan I baked at 340 degrees for not quite 55 minutes. Also the Demarle will not hold all of the cake mix so I also got 9 cup cakes out of it mix and sent those to class with my daughter. Ya I was the hero of the day with her classmates and teacher!
Glaze: Powder sugar, milk, coloring and vanilla. I use melted butter in place of the milk... oh does it make for a really nice rich buttery glaze. Just mix in a little butter or milk till you have the consistency you want for drizzling over the cake.
Now I got to thinking after making this, that I bet you could use any flavor pudding mix to come up with different flavors. Richer Chocolate, or Butterscotch with caramel glaze. And what a nice cake consistency it makes too. Very moist and the chocolate chips make it even more yummier! You could color the glaze according to holidays too.
Thanks Penny for this yummy recipe. I have added it to my book of favorites.
Flowers in the Window
.JPG)
You can get the goods by clicking on any of the items and it will take you right to the page to order.
|
|
|||||||||||||||||
| |||||||||||||||||

A Pure Heart
.JPG)
2B Wonderful

Butterflies


Wedding Box Card


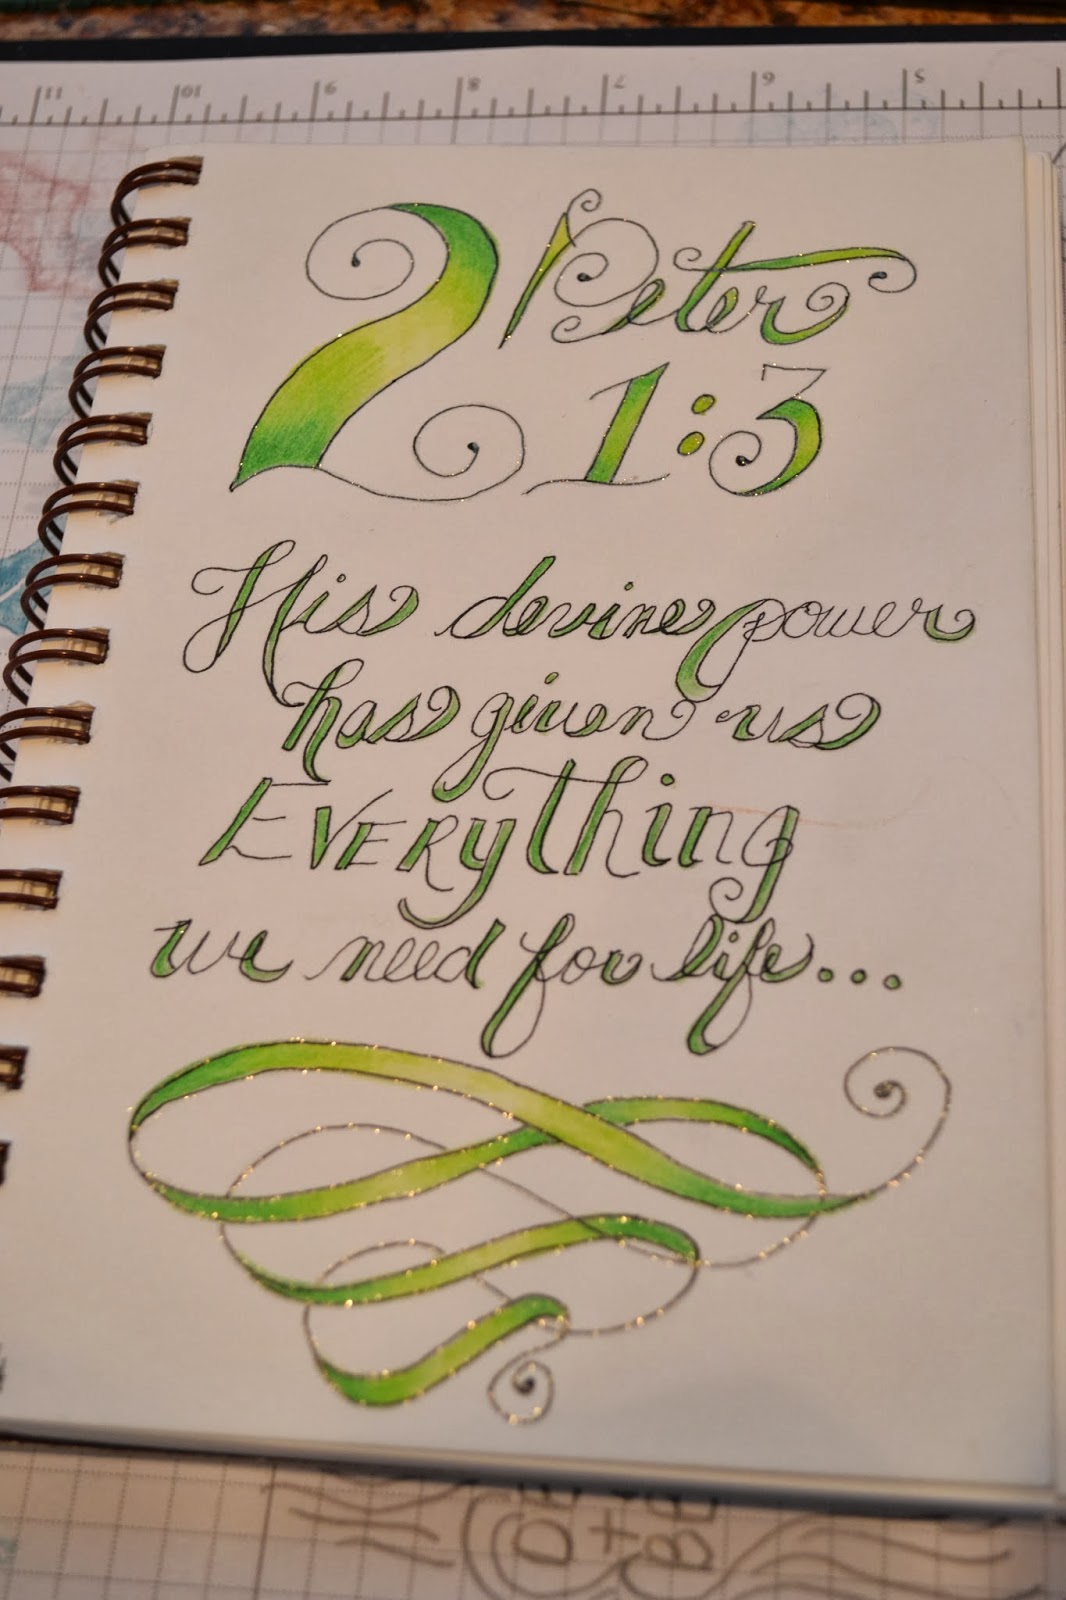
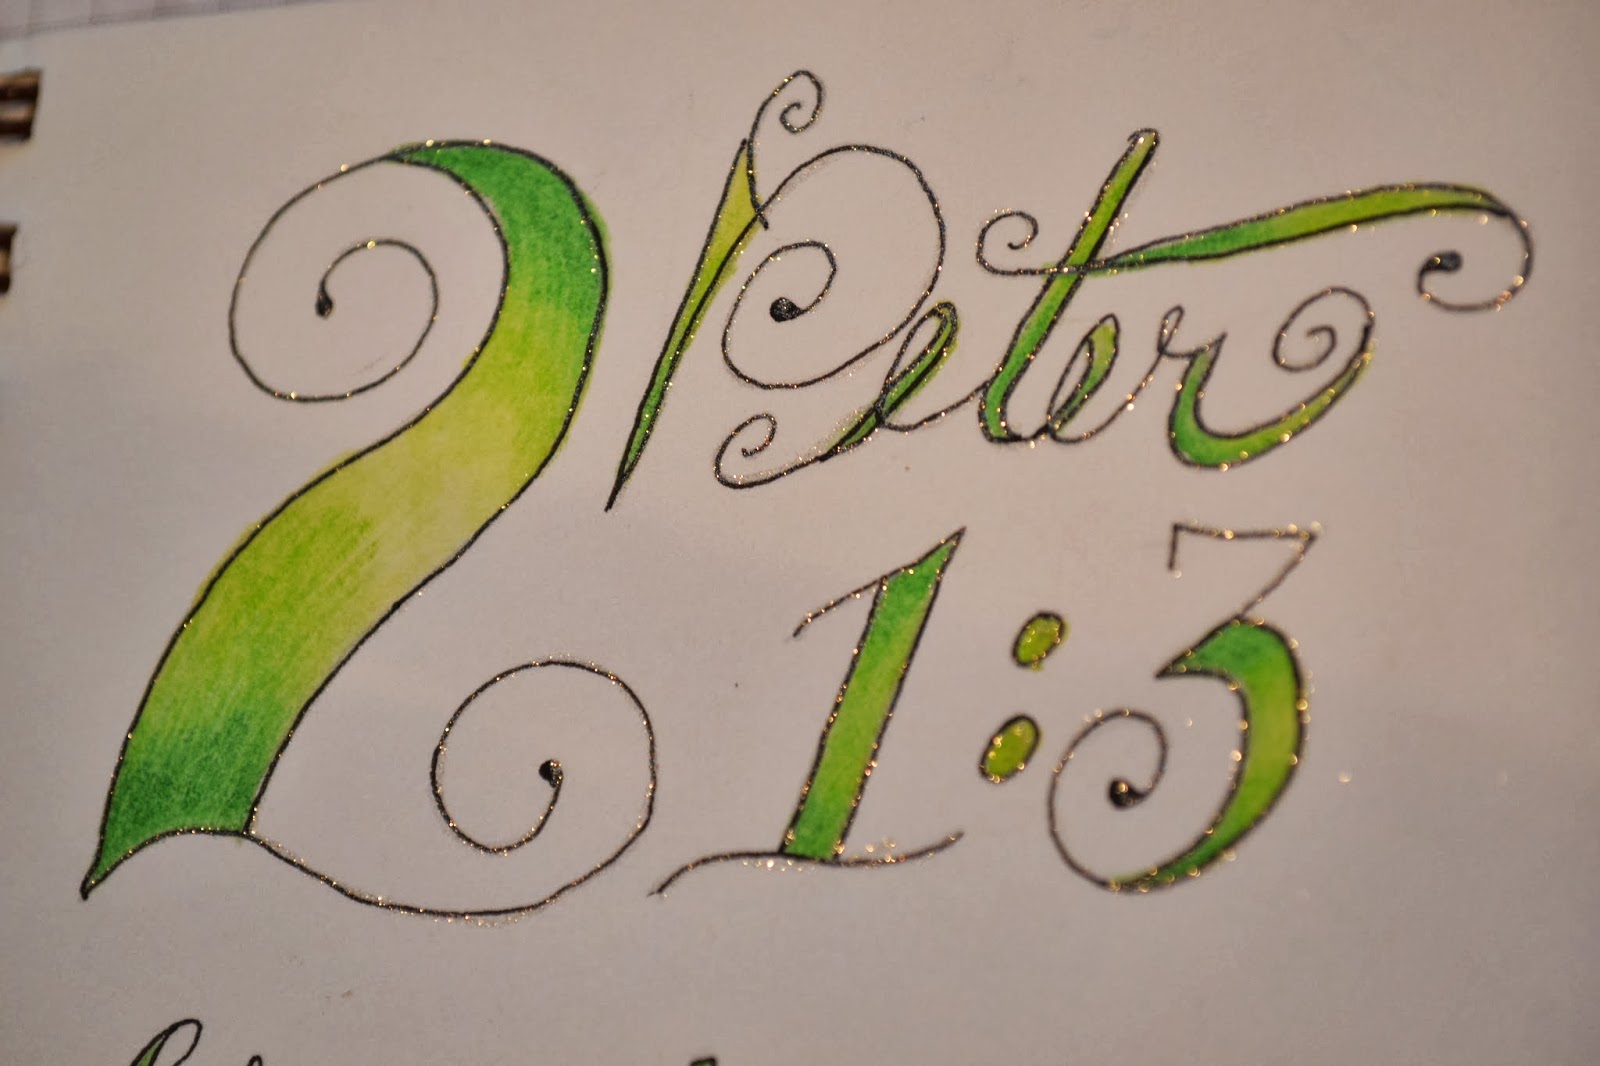
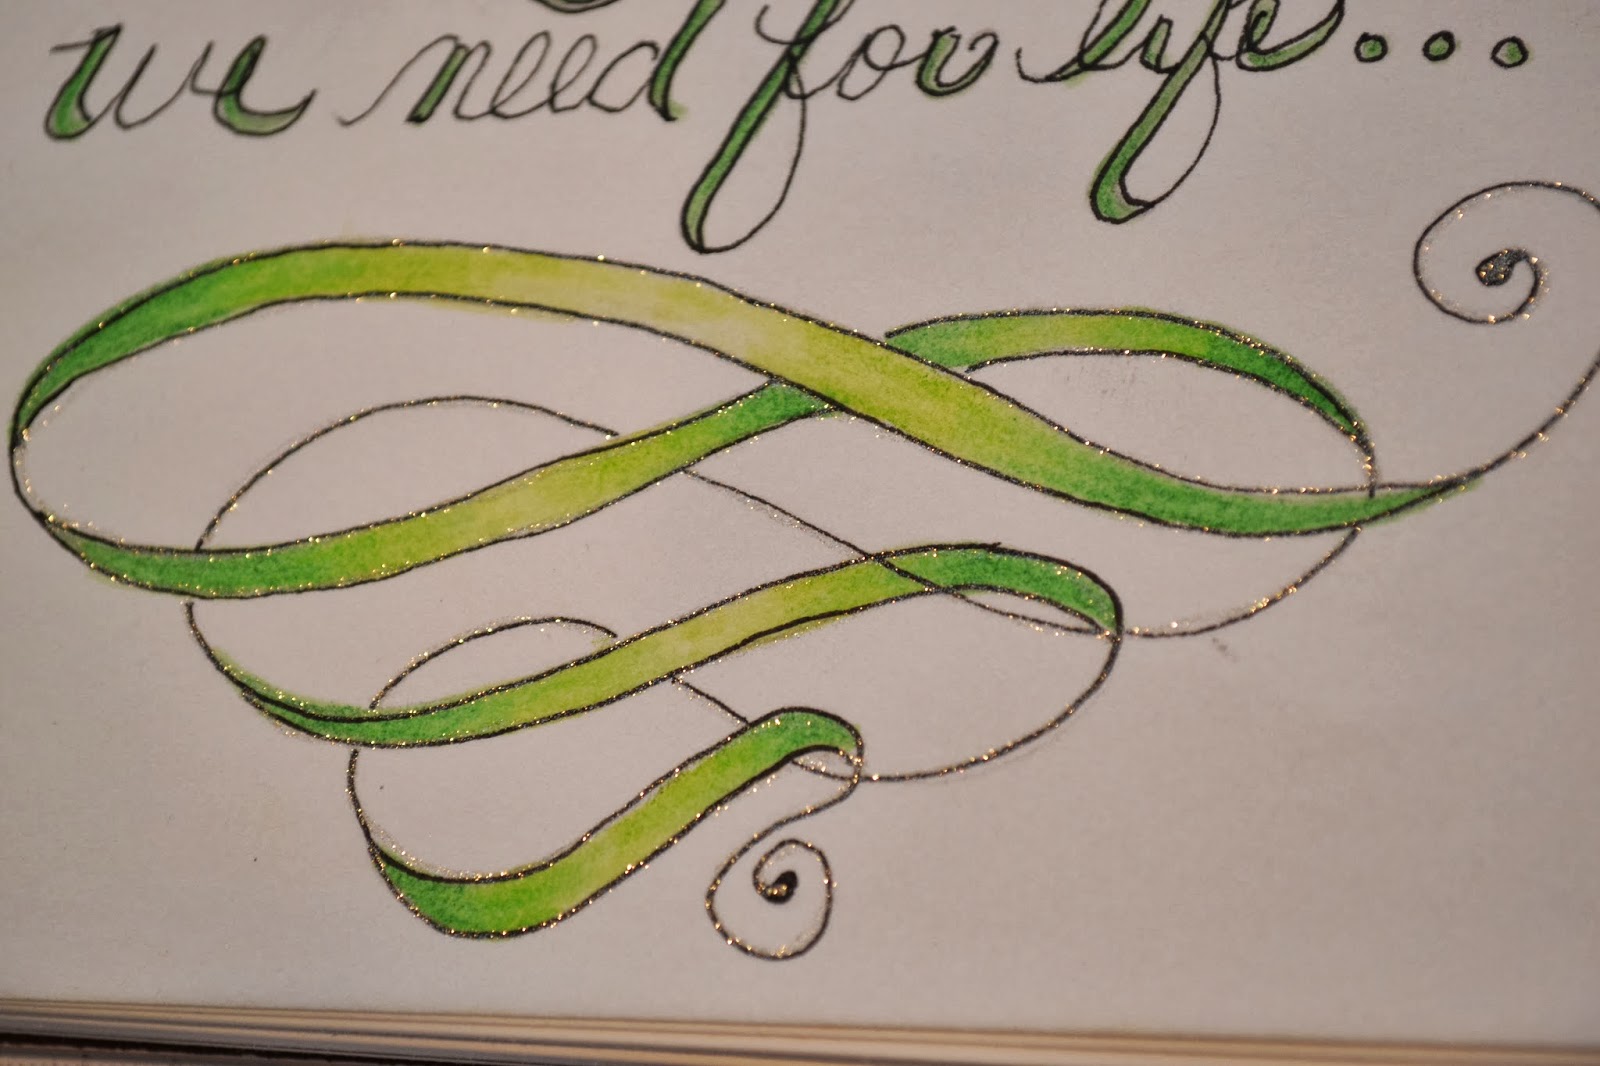
Art Journal

Hearts and Flowers

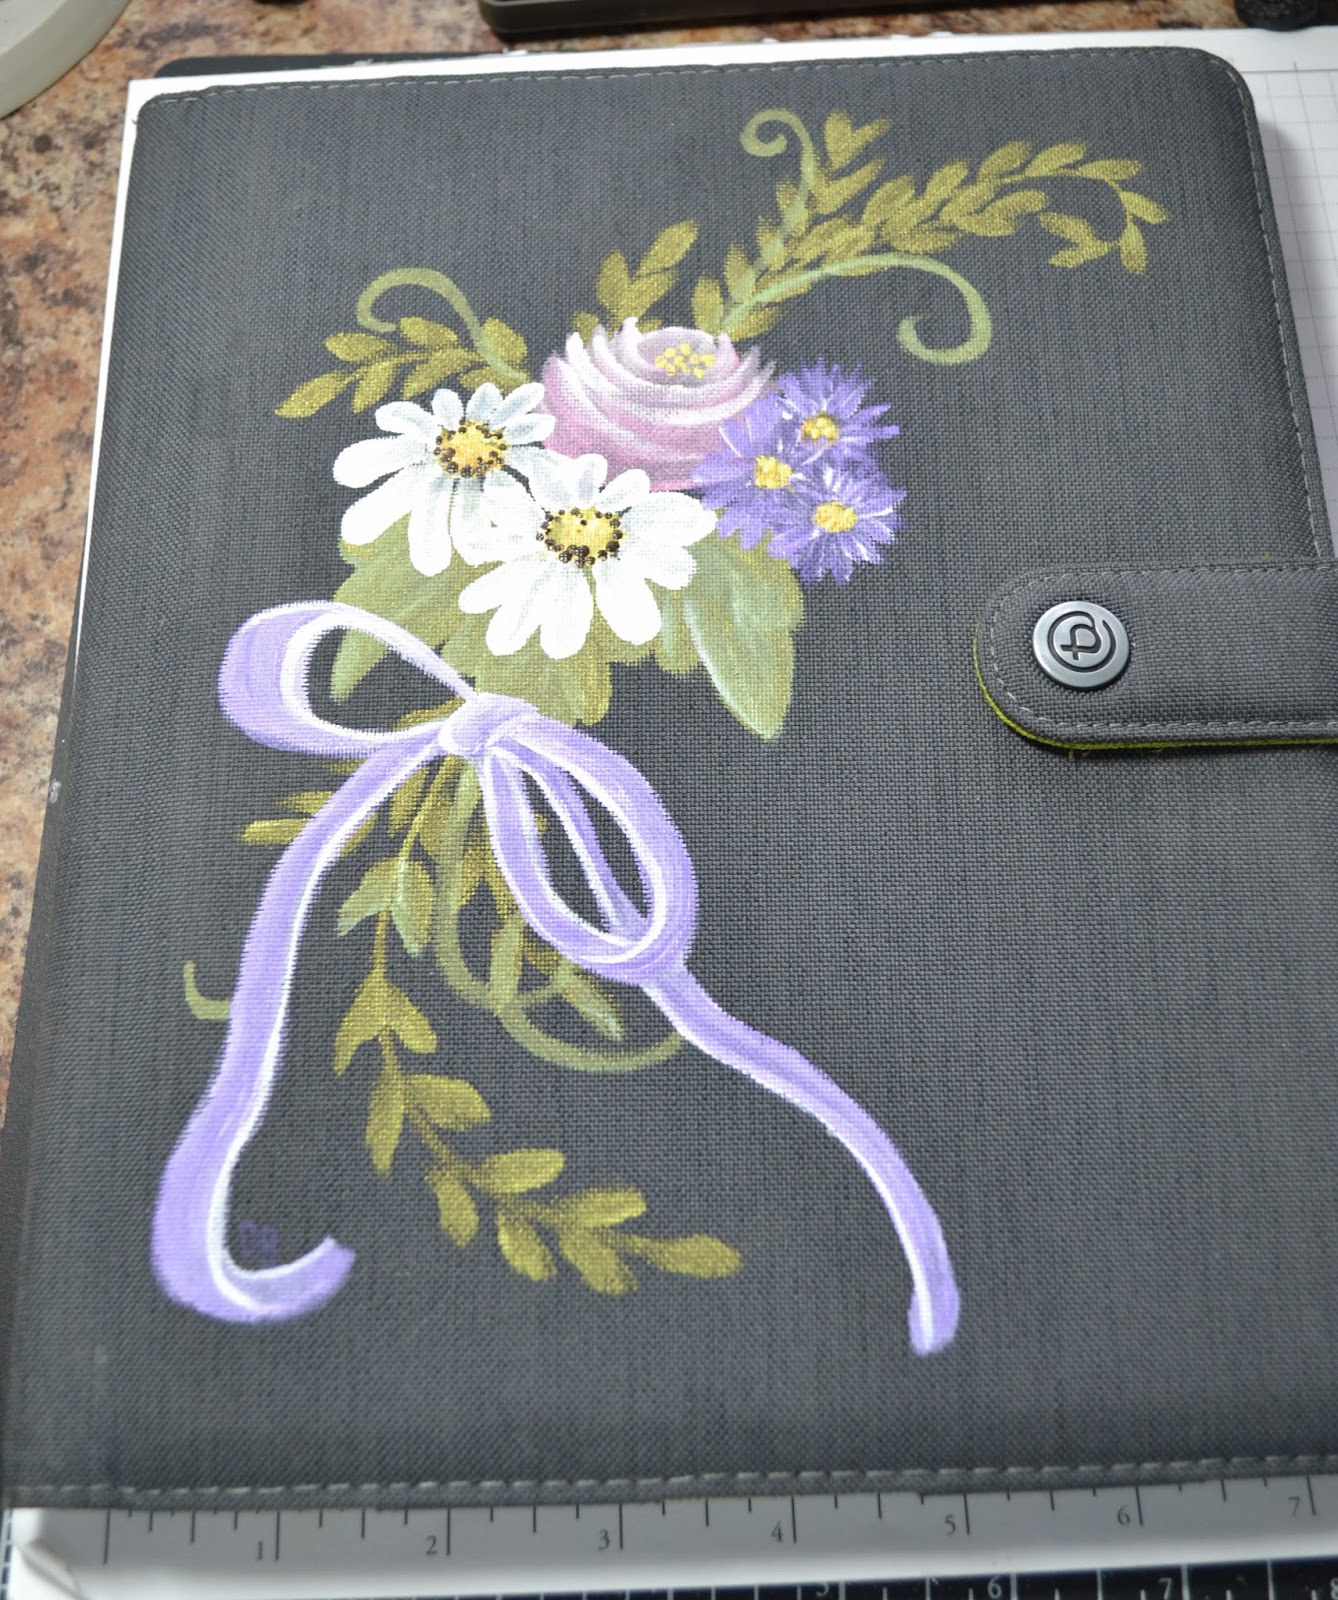
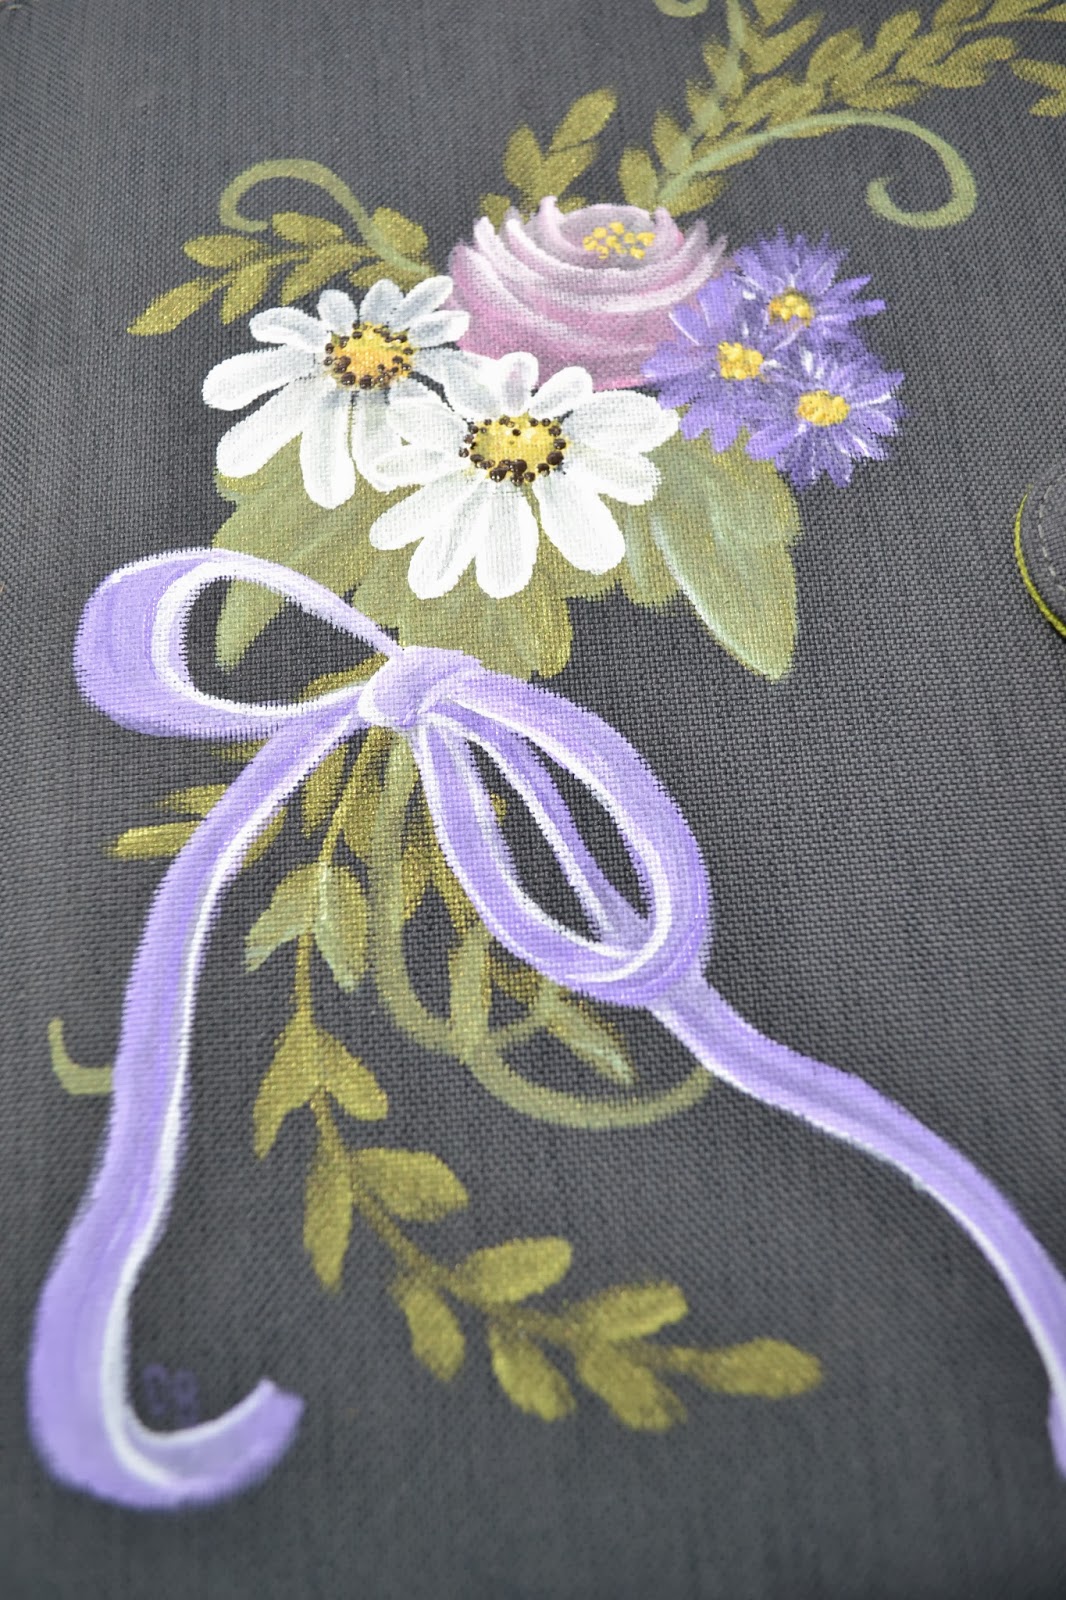
Painted ipad Cover

Card Swap Share


New Video
What a new video.... no-way! Oh but, yes-way! I know shocker huh. I really had this recorded some time ago, but hadn't gotten around to getting it edited and uploaded. So since I am up all hours of the night these days, thought it a good time to get to it. Do hope you enjoy... if for nothing else but a good belly laugh! ha!
If you subscribe to my blog to receive posts in your email, be sure to click over to the blog to view the video. I don't think the video will come in the email, maybe it will.. I really don't know...
Green Ink
Card Swap

Ah Choo

Fringe Scissors... such a cool new tool. Get yours HERE.
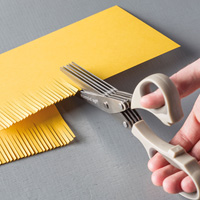
| Fringe Scissors | 133325 |
| Price: $9.95 | |
| Make fringe trim in seconds without tediously making each individual cut. Cut fringe or grass trim with a few snips. Makes quick work of confetti, too. | |
Doodling

Card Swap

Paisley

Card Swap

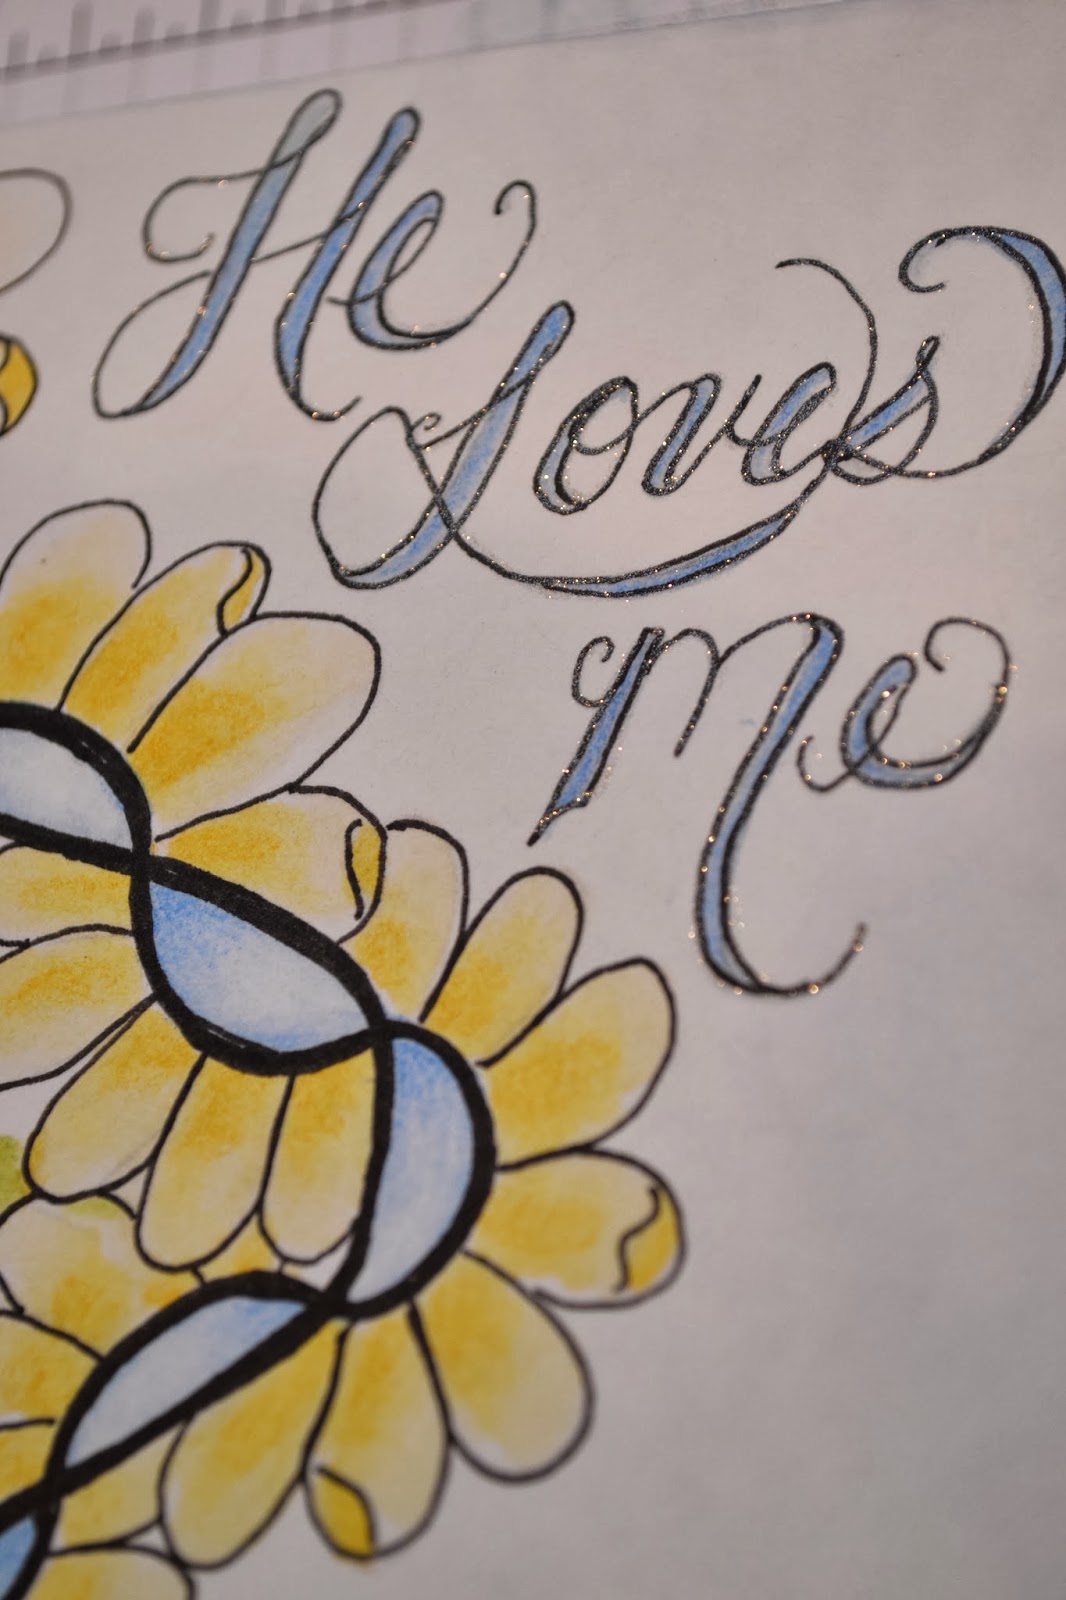
He Loves Me

Dear Jesus, I know that I am a sinner and I cannot go on living this life without you. Please forgive me of my sins, and come into my life and the Lord over my life and my savor. I ask this is your precious name, Amen.
Salt?


Subscribe to:
Posts (Atom)